
I learned to make the espresso matcha latte recipe when I wanted earthiness and a bold espresso pop in one glass. The first sip wakes me up with tea-like green notes, then a warm roast follows—clean, bright, and layered.
I make this at home when I want a cafe-level result without fuss. Start with a sweetened, room-temperature matcha base, add chilled milk in the middle, then float hot espresso on top. Use ice and pour over a spoon for neat stripes.
My tips are practical: pick fresh powder, control water temp, and dose milk for texture. I’ll share exact ingredients, simple gear options, and how to avoid bitterness so your flavor stays balanced and not too sugary.
Key Takeaways
- Layering works thanks to temperature and density differences.
- Sweeten the matcha base to help clean stripes and flavor balance.
- Use chilled milk and plenty of ice for crisp layers.
- Fresh powder and correct water temp prevent clumps and bitterness.
- I share ratios and gear that work without a machine.
- Options to reduce caffeine let you keep flavor with less kick.
Why this bold green-and-espresso combo just works
Think of this as a morning duet: bright green tea notes meeting a bold coffee kick. I love how the grassy sweetness from matcha sits beside roasted chocolate and caramel from espresso.
The combo feels balanced. Matcha brings L‑theanine, which smooths the caffeine edge. The shot on top adds an instant lift and crema aromatics.

Build it in layers and each sip changes. First you get the roast aroma, then creamy milk, then the deep tea finish. It stays round, not muddy, when each element tastes good on its own.
- Matcha: green, slightly sweet, calming.
- Espresso: roasted, syrupy, aromatic.
- Fixes: use better powder, cooler water, or a shorter pull if it tastes harsh.
If you want practical steps and exact ratios, check my detailed guide for making this at home: crafting the perfect fusion drink.
What makes it different from a regular matcha latte or cappuccino
This drink sits between two worlds: green tea calm and a bold coffee kick.
A standard matcha latte is simply whisked green plus milk. It’s gentle, grassy, and creamy.
A cappuccino centers on a strong shot and thick foam. It’s about espresso intensity and froth texture.
- Flavor: the fusion adds roasted counterpoint to the tea’s sweetness.
- Texture: iced versions feel silkier than a foamy cappuccino; hot builds can mimic microfoam.
- Aroma: coffee roast comes forward while the cup still finishes with grassy notes.
- Structure: careful temperature and density create visual layers — distinct stripes rather than one blended cup.
| Drink | Primary Focus | Look & Texture |
|---|---|---|
| Matcha latte | Green tea and milk | Uniform green cream, smooth |
| Cappuccino | Shot of coffee and foam | Dark espresso base, thick foam top |
| Fusion drink | Tea aromatics plus espresso | Striped layer effect, silkier iced texture |
Balance is key. I nudge milk and sweetener so both leaders—tea and coffee—stay cooperative. Once you find a ratio, this becomes a reliable house favorite.

Ingredients I use for the best flavor and clean layers
Small ingredient choices make a big difference in how the cup looks and tastes. I keep each item intentional: color, density, and taste all matter.
Choosing the powder
I use ceremonial grade matcha for the smoothest, brightest green. Good culinary grade works if you want a stronger punch. I always sift the powder first to avoid clumps that ruin texture and flavor.
Milk options and why they matter
Whole milk gives body and natural sweetness. Oat milk adds a creamy mouthfeel and pairs well with tea notes. Almond milk is lighter and nutty. Coconut milk brings tropical fat—great for iced versions.
Sweeteners, water, and ice
Maple or cane sugar lifts without hiding the tea. Whisk matcha with room-temperature water for iced builds. For hot builds, avoid boiling—use warm hot water to keep bitterness away.
| Ingredient | Effect on texture | Best use |
|---|---|---|
| Ceremonial grade matcha | Silky, vibrant green | Hot and iced builds |
| Oat milk | Creamy, helps layer | Iced, smooth mouthfeel |
| Almond milk | Light, nutty | Lower-calorie option |
Gear that makes cafe-quality at home
You don’t need a pro setup to get clean layers and bright flavor. A few well-chosen tools make the process faster and more reliable. I’ll list what I use and why it earns counter space.
Brewing options for the concentrated shot
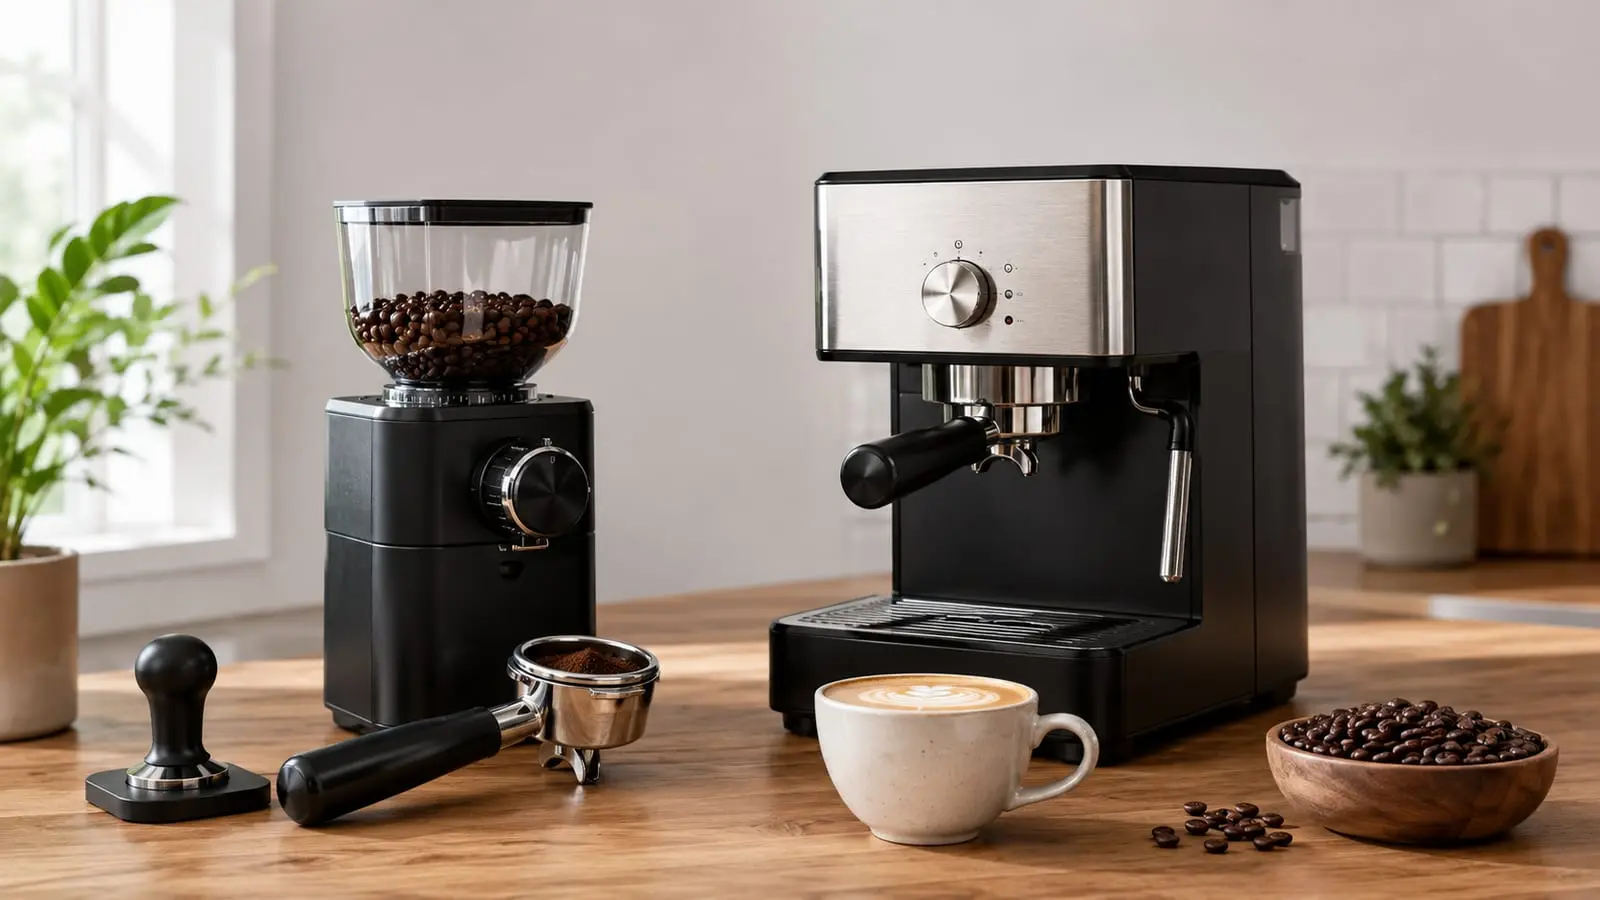
- Espresso machine — best crema and control. Use it if you already pull consistent shots at home.
- Bialetti moka pot (stainless, induction-friendly) — simple, affordable, and very close to a true shot. I reach for this a lot.
- Strong coffee fallback — Aeropress or a fine pour-over grind. Keep volume low and strength high so the brew cuts through milk.
Tools for matcha and milk texture
- Bamboo whisk (chasen) — makes matcha smooth fast and stops clumps.
- Aerolatte-style handheld frother — handy for milk and for blending powdered tea in a glass.
- No-froth path — shake matcha in a small jar with a tight lid, then strain if needed.
| Tool | What it does | When to use |
|---|---|---|
| Scales | Consistent dosing in grams | When you want repeatable results |
| Tall clear or double-wall glass | Shows layers and slows ice melt | Iced builds or for show-off pours |
| Fine sieve | Stops clumps before mixing | Always for bright, smooth tea |
Tip: keep tools clean. Old coffee oils or tea residue dulls flavor. I rinse and dry mine after every use.
Espresso matcha latte recipe
Let me walk you through the precise ratios I use to get consistent layers and balanced flavor every time.
Exact ratios for a balanced cup
My iced baseline produces the cleanest stripes. Use 2 tsp matcha whisked with 1/4 cup room-temp water. Sweeten with 1–2 tsp maple or 2 tsp cane sugar. Add 1/2 cup cold milk, fill the glass with lots of ice, then float a 2 oz hot shot on top.
For a cozy hot version, use 1 tsp matcha and 1 oz warm water. Heat 6–8 oz milk (about 3/4 cup) and pull a 2 oz shot. Adjust sweetener to taste.
- Bump green by 1/2 tsp to push tea forward; keep the shot at 2 oz.
- Soften coffee presence by shortening the shot or splitting it with hot water.
- Stir if you want an even cup; leave layered for tasting shifts.
How to choose the right glass or mug
| Vessel | Why it works | When to use |
|---|---|---|
| Tall clear highball glass | Shows layers and keeps ice away from the lip | Iced, photographic pours |
| Wide rocks glass | More surface for ice, chunkier melt | Iced, bolder visuals |
| 10–12 oz ceramic mug | Comfortable lip, retains heat when pre-warmed | Hot builds, aroma-forward sips |
Fill the glass to the rim with ice for distinct layers. A double-wall cup slows melt if you sip slow. Jot your tweaks after the first try—you’ll dial it fast.
Step-by-step: the iced, layered “dirty matcha” version
Let’s build the iced, layered dirty matcha step by step so you get crisp bands and bright flavor every time. I keep each move simple. Small technique choices make the striped look repeatable.
Whisking so the tea is smooth and never bitter
Sift 2 tsp matcha into your mixing glass. Add 1/4 cup room‑temperature hot water and whisk or use a handheld frother until silky. No boiling water—warm is enough to dissolve without bringing bitterness.
Building distinct layers with ice, a spoon, and temperature
Fill the glass completely with ice so liquids travel across the surface, not through gaps. Pour cold milk gently over the back of a spoon resting on the ice—this slows flow and keeps a clean white band.
Pull a fresh shot and pour the hot espresso over the spoon so it floats and creates that dark top stripe. The contrast comes from density and temperature, not luck.
Dialing sweetness without flattening the layers
- Sweeten the matcha base lightly with maple or cane sugar so the green stays bright.
- If layers merge, add a pinch of sugar to the milk next time to nudge density up without over‑sweetening.
- Taste before stirring—you might enjoy the sip‑by‑sip shift from coffee to milk to tea.
Step-by-step: cozy hot version with silky foam
Here’s how I make a cozy hot version that keeps foam fine and flavors bright.
.
Warming milk without scorching the tea
Sift 1 tsp matcha into your favorite cup. Whisk it with 1 oz warm water — think hot bath, not boiling — so the green stays sweet and smooth.
Warm 6–8 oz milk gently on the stove until it steams and small bubbles form at the edge. Don’t let it scald. Froth to a fine microfoam with a handheld frother or a whisk.
When to add the espresso shot for best aroma
Pull or brew a 2 oz espresso right before you assemble so the aroma is at its peak. Pour the matcha base into the cup, add the milk, then float the shot on top. Aroma rises and the crema sits beautifully.
- If you prefer a blended profile, add the espresso before milk.
- For a cappuccino-like finish, add it last and let the crema mingle with foam.
- Let the cup rest 1–2 minutes — those minutes round the mouthfeel.
Taste and, if needed, add a touch of maple or cane sugar, stirring gently so the foam stays silky.
The science behind clean layers
A sharp, striped drink comes down to two simple things: density and temperature. I use plain ideas so you can repeat the look at home without guesswork.
Density is mass divided by volume. Heavier liquids sink. Lighter ones float. Temperature changes density in real time — hot liquids become lighter than cold ones.
Why hot drinks float and how to stack right
Build a bottom‑heavy tea base first. I whisk matcha with room‑temperature water and a touch of sweetener so that green layer is dense and sits low.
Next comes cold milk. Keep it chilled; that helps it rest above the sweet base. Finish with a very hot shot on top — heat makes that top layer lighter, so it floats.
When a pinch of sugar belongs in the milk
If the top stripe keeps collapsing, stirring a tiny pinch of sugar into the milk raises its density just enough to hold a cleaner band. Use sparingly so you don’t over‑sweeten the cup.
- Liquids stack by density: heavy sinks, light floats.
- Pour over a spoon to slow momentum and avoid punching holes through layers.
- Fill the glass with plenty of ice — it acts like scaffolding for the milk layer.
- Serve immediately; as temperatures equalize, the layers soften.
| Layer | Temperature tip | Quick fix |
|---|---|---|
| Bottom — sweetened tea base | Room‑temp water keeps it dense | Add sugar to increase weight |
| Middle — cold milk | Keep it chilled to remain heavier than hot top | Add tiny sugar pinch to raise density |
| Top — hot espresso | Serve very hot so it stays light and floats | Pour over a spoon to protect the band |
| Support — ice in the glass | Use lots of ice to slow mixing | Fill to the rim for best scaffolding |
Pro tips I rely on after many test runs
After dozens of tries, I keep coming back to a few tiny moves that make the stripes pop every time.
Sifting and whisking to stop clumps
Sift your matcha every time. It takes ten seconds and saves the cup from gritty sips.
Use a quick zig-zag whisk motion to lift powder into the water. This suspends the green without over‑aerating it.
Ice coverage and spoon placement for picture-perfect stripes
Fill the glass to the top with ice so the surface stays covered. Coverage across the diameter protects layers as you pour.
Set a spoon just above the ice. Pour milk and then the hot shot over the spoon’s back so liquids fan out gently instead of punching through.
Keep flavors balanced as it melts
Sweeten the matcha base first, then taste. If you need more, add a little to the milk — not the top shot.
If the drink gets sweeter as it melts, cut 1/2 teaspoon next time. Pull the espresso right before pouring; a few idle minutes lose crema and aroma.
| Quick tip | Why it matters | Fast fix |
|---|---|---|
| Sift powder each time | Prevents grit and uneven taste | Use a small sieve, 10 seconds |
| Full-coverage ice | Scaffolds layers and slows mixing | Top the glass to the rim |
| Spoon pour method | Protects the middle band from collapse | Pour over spoon back, just above ice |
| Taste then adjust | Stops over-sweet or flat cups | Sweeten base first; tweak milk |
Short practice runs pay off. Keep milk cold, shot hot, and assemble within minutes for the best flavor and photo-worthy stripes in your next latte.
Flavor variations you’ll actually make
I love small tweaks that shift the whole cup. These mixes keep the striped look and add real flavor without over-sweetening.
Maple, chocolate, and caramel plays
- Maple mocha: stir 1–2 tsp maple into the green base, drip 5–8 ml chocolate inside the glass, then build as usual.
- Caramel stripe: paint a thin spiral with 8–10 ml caramel; sweeten the base by 1/2 tsp so it stays bright.
- Tip: keep drizzles light. Heavy sauce will pull through layers and ruin the banding.
Spiced dirty matcha for cooler days
- Whisk a pinch each (≈1/8 tsp) cinnamon, cardamom, nutmeg with the powder. Bloom spices with a few drops of hot water first.
- This chai-adjacent twist plays nicely with warm milk and a single hot shot of coffee.
Frozen, blended, and milk pairings
- Frozen/frappe: blend green powder, 1 cup milk, 1 cup ice, 1 tsp sweetener until slushy; pour and float a shot for a marbled top.
- Almond milk loves chocolate; oat milk pairs with maple; dairy sings with caramel. Decaf or half-caf keeps late-night flavor without the buzz.
| Variation | Add-in amount | Best milk |
|---|---|---|
| Maple mocha | 1–2 tsp maple + small chocolate drizzle | Oat |
| Caramel spiral | 8–10 ml caramel + 1/2 tsp sweetener | Dairy |
| Spiced dirty matcha | Pinch each spice; bloom first | Almond milk |
| Frozen frappe | 1 cup milk, 1 cup ice, 1 tsp sweetener; blend | Any—use oat for creaminess |
Milk and sweetener swaps for every preference
A few smart swaps in milk and sweetener change how each sip behaves and tastes. I keep this part simple so you can pick a path that fits your mood and pantry.
Dairy vs plant milks: foam, body, and sweetness
Whole milk gives the richest body and natural sweetness. It foams well and makes clean cold layers when chilled.
Oat milk brings creaminess and a slight sweetness on its own. Barista blends foam nicely and play well with the coffee shot without stealing the tea notes.
Almond milk is lighter with a nutty finish. Keep it very cold for better layering and add a touch more sweetener if the cup tastes thin.
Coconut milk is ultra creamy—use it sparingly or mix half-and-half with another milk so it doesn’t overwhelm flavor.
Maple, cane sugar, honey: what changes in taste and layering
Maple adds caramel warmth and broadens the sweet profile. Cane sugar is neutral and helps layers by increasing density when dissolved into the base or milk.
Honey gives floral complexity but reads sweeter, so start small. Agave blends in cleanly and stays light; use less to avoid flattening the tea.
- Whole milk: best body and natural sweetness; microfoams easily; layers cleanly when cold.
- Oat milk: creamy, slightly sweet; good foam with barista blends; supports coffee and matcha without overpowering.
- Almond milk: lighter body, nutty finish; keep cold for layers; consider a touch more sweetener for balance.
- Coconut milk: very creamy; a little goes far—try it mixed with another milk.
| Add-in | Effect on taste | Layering tip |
|---|---|---|
| Maple syrup | Caramel warmth | Dissolve in matcha or milk for even bands |
| Cane sugar | Neutral sweet | Helps density when dissolved fully |
| Honey | Floral, stronger | Use sparingly to avoid dominance |
| Agave | Light, blends easy | Use less to keep tea bright |
If your milk won’t foam, it may be low‑protein; swap to a barista blend or dairy. For iced builds, dissolve sugars fully in the matcha or milk before pouring to avoid streaks. Taste as you go—small sweetness changes swing the balance fast.
Caffeine, energy, and decaf options
I reach for this blend when I want clarity and a slow-burn energy, not a sudden jolt. Matcha brings steady lift through caffeine plus L‑theanine. The quick hot shot adds an immediate perk and aroma.
How the green tea plus a shot feels
The combo often feels steady and clear. L‑theanine in the powder smooths the caffeine curve while the shot gives the upfront lift.
If plain coffee makes you jittery, this blend can feel more focused and calm. It still wakes you up, but the edges are softer.
Decaf, half-caf, and how to keep flavor
Decaf espresso keeps the roast flavor with less buzz. Pull the same shot size with decaf to preserve crema and aroma.
Half-caf splits the difference. You get some lift but not the full stimulant load. It’s my go-to for late afternoons.
- If you’re sensitive, drop matcha to 1 tsp in iced builds and keep the shot short.
- Skip late-night versions unless you use decaf; taste stays rich even with low caffeine.
- Hydrate alongside—both tea and coffee nudge diuresis for some people.
- Set a personal cutoff time if sleep is a concern and stick to it.
| Option | Feel | When to use |
|---|---|---|
| Full-strength | Clear focus, steady buzz | Mornings and active work sessions |
| Half-caf | Moderate lift, less jitter | Afternoons or long meetings |
| Decaf | Roast flavor with gentle mood | Evenings or caffeine-sensitive folks |
| Low-matcha + short shot | Milder, controlled energy | Very sensitive—try 1 tsp matcha |
Make-ahead, scaling, and batching for guests
A tiny prep routine lets you serve perfect layered drinks without chaos. I keep things simple so you can host at home and still enjoy the party.
Pre-mix a chilled matcha base (powder + water + sweetener) up to 24 hours ahead. Whisk it again before using. Keep milk very cold and set a pouring station with spoons and tall glass options.
- Pull shots to order for aroma; for scale, brew concentrated moka pot batches and keep hot.
- For six servings, prep ice-filled glasses first; pour milk over a spoon, then walk the hot brew around last.
- Add a pinch of sugar to the milk for large groups—this helps each layer stay crisp.
- If you must transport, carry base and milk in separate bottles and assemble on-site over fresh ice.
- Plan about 2–3 minutes per cup once bases are ready; you’ll speed up with practice.
| Task | Timing | Layer tip |
|---|---|---|
| Matcha base | Prep to 24 hours ahead | Whisk before pouring to refresh texture |
| Milk | Keep chilled until pour | Add tiny sugar pinch for density |
| Assembly | 2–3 minutes per cup | Pour over a spoon; finish with hot shot last |
| Transport | Assemble on-site | Use fresh ice and separate bottles |
Serving ideas, glassware, and stunning presentation
Set the stage before you pour: a chilled glass, steady hands, and the right spoon make all the difference. I keep things simple so the look doesn’t hurt the taste.
Layered iced latte aesthetics at home
Use a clear highball or Collins glass to show the three bands. Double-wall options cut condensation and slow melt.
Rinse the inside with cold water and chill for five minutes. Fill the glass fully with ice so the surface supports each pour.
Pour milk slowly over the back of a long spoon. Finish with the hot espresso last so it floats and keeps the crisp dark stripe.
Garnishes that enhance flavor, not just looks
- Light dusting of sifted matcha or a whisper of cocoa—no heavy toppings.
- A thin maple or caramel drizzle around the rim for a neat accent.
- Serve with a wide straw and a small stirrer so guests pick how they sip.
| Vessel | Why it works | Presentation tip |
|---|---|---|
| Clear highball glass | Shows three bands clearly | Chill, fill to rim with ice |
| Double-wall tumbler | Less condensation, slower melt | Use for long sipping sessions |
| Wide rocks glass | Bolder visuals, chunky ice | Use for dramatic, short pours |
Troubleshooting common issues
When a pour goes sideways, a few quick checks usually get you back to crisp bands and bright flavor. Below are the fast fixes I use when things look or taste off.
Clumpy powder or bitter notes
Clumps? Sift the matcha and whisk with warm or room-temp water. Don’t use boiling water — it brings out bitterness.
If the green tastes sharp, try a better grade of powder or lower the water temperature. For hot builds, cut steep time and taste as you go.
Collapsed or muddled layers
Keep milk very cold and your shot very hot. Pour over the back of a spoon to slow momentum.
Use enough ice to cover the glass diameter so the surface acts like scaffolding for each layer. If a band keeps breaking, add a pinch of sugar to the milk to raise its density.
Watery cups or overpowering coffee
Watery? Use less ice, pre-chill the glass and milk, or increase matcha by 1/2 tsp to lift the base.
If the coffee tastes too strong, shorten the shot or make the grind slightly coarser for a moka‑style brew. Or add 1–2 oz more milk to soften that edge.
- Clumps: sift, whisk with warm/room-temp water, avoid boiling water.
- Bitter green: reduce temp, pick a better grade, shorten steep time for hot cups.
- Layers collapsing: cold milk, hot shot, spoon pour, plenty of ice.
- Espresso sinking: check temps and add a tiny sugar pinch to milk.
- Watery taste: less ice, stronger base, pre-chill glass and milk.
| Problem | Likely cause | Quick fix |
|---|---|---|
| Clumpy powder | Un-sifted or old powder | Sift, whisk longer, buy fresh |
| Muddled layers | Wrong temps or low ice coverage | Chill milk, heat shot, fill with ice |
| Harsh coffee | Over-extracted shot or fine grind | Shorten shot, coarsen grind, add milk |
Nutritional notes and simple tweaks
Before you sip, a quick note on how milk and sweetener change the final cup. I keep this light and practical — no medical claims, just choices that affect calories and feel.
Matcha and a short shot both carry caffeine, so you can tune the lift by swapping the coffee or cutting the green a bit. Almond or low‑fat options lower calories. Dairy adds protein and body.
- Pick milk to shift calories most easily—whole for richness, almond for fewer calories, oat for natural sweetness.
- Sweeteners like maple or honey add flavor and sugars; cane sugar tastes neutral—use the least that satisfies you.
- Smaller cups keep flavor big while trimming totals. Taste as you go before adding more sugar.
| Choice | Impact on calories | Best when |
|---|---|---|
| Whole milk | Higher calories; more body | Want richness and protein |
| Almond milk | Lower calories; lighter mouthfeel | Cut calories, keep cup light |
| Oat milk | Moderate calories; sweeter | Skip extra sugar, enhance flavor |
| Sweetener (maple/honey/cane) | Adds sugars; varies by type | Flavor lift—use sparingly |
Keep hydration in mind and serve water alongside. If you share the beetroot latte, note exact milk and sugar so nutrition stays predictable.
Ready to make it at home today
Grab a glass—your clean, layered cup is only minutes away. I keep this simple so you can get café results without fuss.
Start with a sweetened, room‑temperature matcha base, add cold milk, pack the glass with ice, then float a hot espresso over the back of a spoon. That sequence—whisk, ice, spoon, pour—is the real secret to crisp stripes.
Use my baseline ratios, tweak sweetness one small step at a time, and jot what works. No machine? A moka pot or a strong brew will do if it’s hot for the float.
Want a quick copy to follow? Print this page, stick it on your fridge, and build along until it feels automatic.