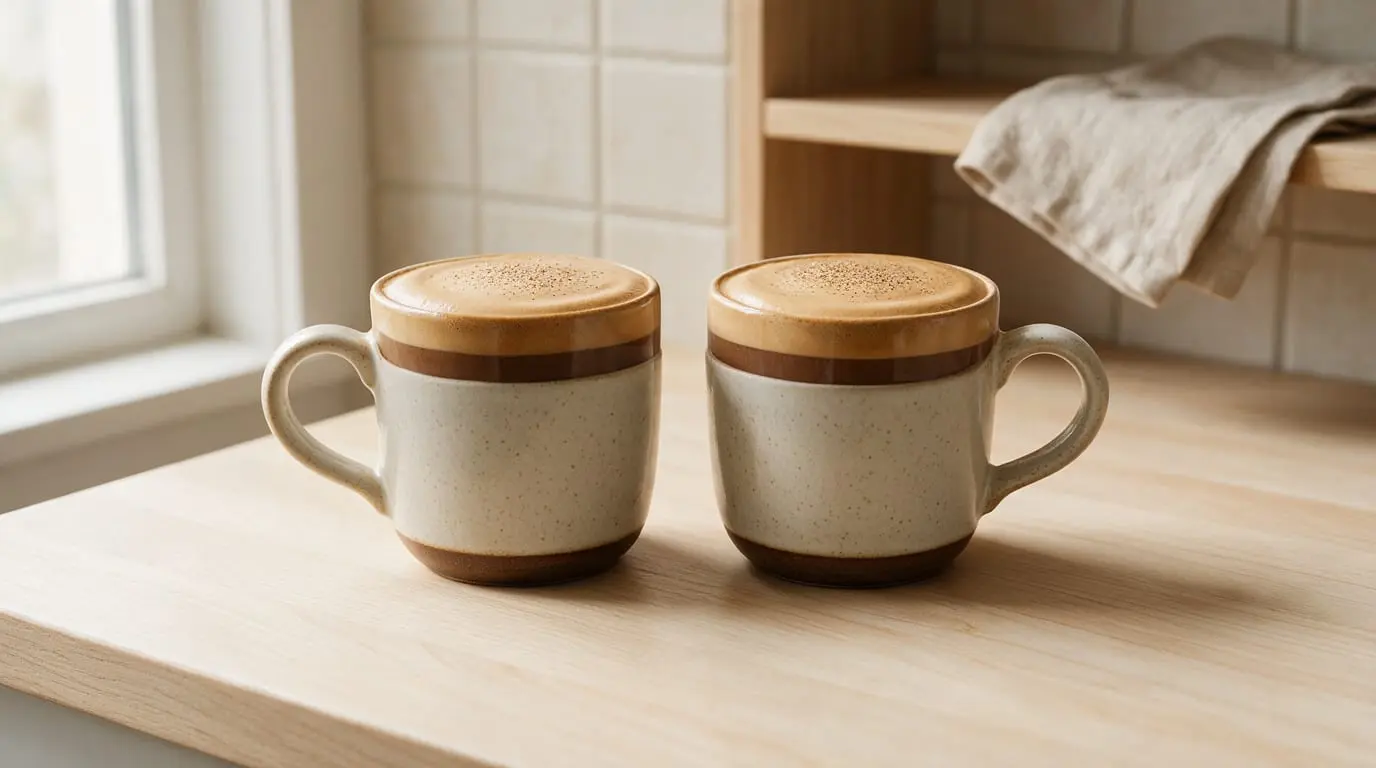
The best espresso matcha latte comes from balance, not expensive gear. Use fresh matcha, a clean espresso shot, properly warmed milk, and the recipe card’s measured ratio. The matcha should taste bright and grassy, the espresso should bring depth, and the milk should smooth both edges. If one flavor takes over, taste and adjust the ratio instead of blaming the machine.
Last updated: 2026-08-28

Espresso Matcha Latte Recipe
Ingredients
Equipment
Method
- Brew the Espresso: Use an espresso machine to pull a single shot (2 oz) of espresso. Set aside.
- Prepare the Matcha: In a small bowl, whisk matcha powder with hot water until smooth and frothy.
- Combine Espresso and Matcha: Pour the matcha mixture into a mug, then add the brewed espresso. Stir gently. Add the sugar or sweetener, if using.
- Froth the Milk: Heat and froth the milk using a milk frother or steam wand until velvety.
- Assemble the Latte: Pour the frothed milk over the espresso-matcha mixture.
- Serve and Enjoy: Optionally, top with a sprinkle of matcha powder or cocoa for an elegant finish.
Notes
What makes an espresso matcha latte work
An espresso matcha latte combines vivid green tea, concentrated coffee, creamy milk, and optional sweetness. Each part needs room to show up. Too much espresso makes the drink smoky and bitter. Too much matcha makes it grassy and chalky. Too much milk turns the whole thing beige in flavor, even if the color still looks impressive.
Matcha is powdered green tea, so it stays in the drink instead of being strained away. Espresso adds roasted depth and a short, punchy finish. Milk connects the two and gives the drink its silky texture.
The goal is a drink where you can taste both matcha and espresso. The flavors should complement each other rather than fight across the mug.
Matcha, espresso, and milk: the starting ratio
The recipe card uses 1 teaspoon of matcha powder and 2 ounces of espresso. That gives you a clear matcha base, one strong coffee layer, and enough milk to soften the drink without erasing it.
A traditional single espresso shot is about 30 milliliters and uses 7 grams of coffee grounds. This recipe uses 2 ounces of espresso, so expect a stronger coffee presence than a small traditional shot. That works well with milk, but it can overwhelm delicate matcha if your coffee tastes especially dark or bitter.
| If the drink tastes… | Adjust this first |
|---|---|
| Thin and grassy | Whisk the matcha more thoroughly, then add a little more matcha next time |
| Bitter and smoky | Use a gentler espresso or reduce the coffee |
| Too creamy | Use less milk so the matcha and espresso stay visible |
| Chalky or gritty | Sift the matcha and dissolve it fully before adding milk |
| Too sweet | Reduce the sweetener before changing the coffee or tea |
| Flat | Use fresher matcha or fresher-ground espresso |
Taste after the milk goes in. Milk changes how you notice bitterness and sweetness, so judging the espresso or matcha alone can send you in the wrong direction.
The recipe

The recipe card below gives you the complete preparation. The order matters because matcha clumps when it meets milk directly, and espresso loses its best aroma if it sits around too long.
Sift the matcha first if it looks lumpy. Whisk it with the hot water until it turns smooth and lightly frothy, then stir in the sugar or sweetener if you’re using it. Pull the espresso separately and keep it close by while you warm and froth the milk.
Pour the matcha and espresso into the mug, then add the velvety milk. Stir gently so the drink combines without knocking all the texture out of the foam. A light dusting of matcha or cocoa works on top, but cocoa adds another flavor, so use it only if you want more roast-like sweetness.
This is the reliable hot version. It gives you a balanced espresso matcha latte without requiring a special tool for the tea.
How do you craft the perfect espresso matcha latte at home?
Start with the card’s ratio, then make one change at a time. Whisk the matcha smooth, pull the espresso cleanly, warm the milk until it feels hot and silky, and combine everything while the espresso is still fresh.
The best drink has three clear jobs. Matcha brings brightness and earthy green flavor. Espresso supplies roast and body. Milk rounds out the finish. If you can’t identify all three, the strongest ingredient has taken over.
Building the iced version

A layered iced matcha espresso latte looks dramatic because the ingredients have different densities. The cleanest version starts with sweetened matcha, ice, and milk. Espresso goes on last, poured slowly over the back of a spoon or directly onto the milk.
Use the same matcha concentrate from the recipe card. Let it cool before assembling the iced drink, because hot matcha melts the ice quickly and makes the layers blur. Add ice to the glass, pour in the milk, then add the matcha and finish with the espresso.
For sharper layers, pour slowly. A fast pour punches through the milk and mixes everything at once. That isn’t a disaster, but it gives you a blended drink instead of the striped effect.
Stir before drinking. The first sip is mostly presentation. The last sip can be mostly coffee if you leave the layers untouched.
Preventing muddy layers and harsh flavors
Muddy layers usually come from poor dissolving, fast pouring, or too much heat. Matcha powder that hasn’t fully mixed leaves green clumps floating through the milk. Those clumps taste bitter and make the drink feel gritty.
Temperature matters too. Use hot water for the matcha and properly warmed milk. Boiling water can scorch the delicate tea flavors, while overheated milk tastes cooked and hides the matcha’s fresh edge.
Ice helps the iced version keep its structure, but it also dilutes the drink as it melts. Use enough ice to chill the glass quickly, then drink the latte before it becomes a pale, watery coffee tea.
Excess espresso creates a different problem. Roasty bitterness can bury matcha’s grassy sweetness, especially if the beans are heavily roasted or the shot extracts poorly. If the coffee dominates, fix the coffee side first. A smoother shot usually helps more than adding extra sugar.
Choosing ingredients that complement each other
Fresh matcha should look vivid green and smell clean, grassy, and slightly sweet. Dull color and a flat smell usually mean the powder has lost its best flavor. You don’t need the most expensive tin on the shelf, but stale matcha won’t become good because you paid more for it.
Choose matcha with enough flavor to stand up to espresso. A delicate tea can disappear under roasted coffee and milk. For this drink, a bright, full-bodied powder gives you more room to adjust.
Freshly roasted coffee beans matter on the espresso side. Grind them right before brewing if you can. Stale coffee brings a papery or flat taste that no amount of matcha can repair.
Roast level changes the result:
- A lighter roast gives more acidity and fruit, which can make the drink bright but sharp.
- A medium roast brings caramel, nuts, and enough body for milk.
- A darker roast adds smoky, bittersweet flavor and can overpower the tea.
I’d start with a balanced medium roast. Dark roast works if you want a bold, chocolatey drink, but it needs careful extraction. Grind too fine, pull too long, or use a bitter shot, and the matcha disappears behind ash.
You can read more about how roast level changes flavor in our guide to making a cappuccino at home. The same roast and milk choices matter here, even though matcha adds another flavor layer.
Whisk matcha with warm water, never boiling water

Warm water gives matcha a smooth concentrate without scorching its delicate flavors. Boiling water pushes the tea toward harshness and makes the bitterness harder to soften with milk.
Sifting is useful when your powder has clumps. Add the hot water, then whisk briskly in a small bowl until the mixture looks smooth and lightly frothy. A bamboo whisk works well, but a small kitchen whisk can handle the job if you move it quickly.
Don’t dump dry matcha into the finished latte. It floats, clumps, and leaves a powdery mouthfeel. The few seconds spent making a concentrate are the difference between a silky drink and one that tastes like wet lawn clippings.
Milk and sweetener customization
Dairy milk gives the fullest body and the softest finish. It also carries the espresso well, so use it when you want a classic latte texture.
Oat milk adds sweetness and a thicker feel. It’s the strongest plant-milk choice for this drink because it can stand up to both coffee and matcha. Almond milk tastes lighter and nuttier, while coconut milk brings its own flavor and can pull attention away from the tea.
You can try the oat milk latte recipe if you want to compare how oat milk behaves in a coffee-forward drink. Here, choose a barista-style version if you want more foam and body.
Sugar, syrup, or honey can soften bitterness. Add a small amount to the matcha concentrate so it dissolves evenly. Don’t sweeten the milk and the tea separately unless you want to lose track of the drink’s balance.
Sweetener should round off the matcha and espresso. If it becomes the first flavor you notice, you’ve covered a problem instead of fixing it.
Can matcha go in an espresso machine?
No. Keep matcha powder out of the espresso machine, group head, and portafilter.
Matcha belongs in its own bowl with hot water. Espresso grounds belong in the portafilter. Putting tea powder into the machine can clog parts, leave residue, and produce a bad extraction. It also makes cleanup needlessly unpleasant.
Prepare the matcha separately, pull the espresso separately, and combine them in the mug. That gives you control over both flavors and keeps the machine doing the job it was built to do.
Hot and iced variations
The hot version follows the recipe card: matcha concentrate first, espresso next, then frothed milk. Stir gently and serve immediately while the espresso still smells fresh.
For an iced version, let the matcha concentrate cool before assembly. Add sweetened matcha, ice, and milk to the glass, then pour the espresso slowly over the top. The espresso will stay more distinct if you pour it gently.
A blended version is easier but less interesting. Add the matcha, espresso, milk, and ice to a shaker or blender and mix until combined. You’ll lose the clean layers, but the flavor will be even and the drink will chill quickly.
The layered version wins for appearance. The blended version wins when you’re rushing. Pick based on what you want from the glass instead of pretending one method does both jobs.
Names for this drink
These names usually describe the same coffee-tea combination:
- Matcha espresso latte: matcha, espresso, and milk served as a latte.
- Espresso matcha latte: the same drink with the words reversed.
- Matcha with espresso: a plain description of the combination.
- Matcha latte with espresso: a matcha latte finished with coffee.
- Dirty matcha: commonly a matcha latte topped with espresso, often served iced.
The word “dirty” describes the espresso sitting over the matcha. It doesn’t mean the drink uses a different kind of tea or coffee.
Some cafes blend the components. Others serve clean layers. Both can be good, but the ratio and whisking technique matter more than the name on the menu.
Troubleshooting
The latte tastes thin
Use less milk or strengthen the matcha. Thin flavor can also come from stale powder or an espresso shot with little body. Taste the matcha concentrate before adding milk so you know where the weakness starts.
The latte tastes bitter
Check the espresso first. A fine grind or overextracted shot can bring harsh roast flavors that cover the tea. Then check the matcha and water; boiling water can make the green tea taste sharp.
The drink feels gritty
The matcha didn’t dissolve fully. Sift it, use warm water, and whisk until smooth before combining it with espresso and milk. Adding dry powder to the mug is the fastest route to grit.
The latte is too sweet
Reduce the sweetener in the matcha concentrate. Don’t compensate by adding more espresso, because that usually creates a bitter drink with the same sugar problem.
The matcha disappears
Use fresher, more vivid matcha or a little less milk. A very dark espresso can also drown it out, so switch to a smoother roast before increasing the tea aggressively.
The espresso dominates
Use a cleaner shot or reduce the coffee presence. The drink should still taste like matcha after you swallow. If the finish is only smoky, the ratio needs work.
The layers blur
Cool the matcha before building the iced drink, keep the glass full of ice, and pour the espresso slowly. Stirring is fine once you’re ready to drink, but it will erase the stripes.
The milk tastes flat
Improve the texture before adding more sweetener. Properly warmed, frothed milk adds body and sweetness on its own. If you’re using plant milk, try oat milk for a fuller result.
Storage and make-ahead tips
This latte tastes best immediately after assembly. Espresso loses aroma as it sits, and frothed milk separates. The iced version also changes as the ice melts.
You can prepare the matcha concentrate shortly before serving, then combine it with fresh espresso and milk. Don’t store the completed latte and expect the same texture later. The foam falls, the coffee dulls, and the matcha settles.
Keep matcha powder sealed away from light, heat, and moisture. Grind coffee fresh for each drink when possible. Fresh ingredients make a bigger difference here than a decorative topping or expensive machine.
FAQ
Does matcha contain more caffeine than espresso?
The amount depends on the matcha powder and espresso used. Matcha contains caffeine because you consume the powdered tea leaf, while espresso contains caffeine from brewed coffee grounds. If caffeine affects your sleep or makes you jittery, treat this as a caffeinated drink and adjust your serving habits.
Why does matcha taste grassy with espresso?
Matcha tastes grassy when its fresh green notes meet strong roast flavor without enough milk or sweetness to connect them. Use a smoother espresso and whisk the matcha thoroughly. A balanced medium roast usually gives the tea more room than a smoky dark roast.
Should you mix an iced dirty matcha before drinking it?
Yes. Keep the layers intact for serving, then stir them together before drinking. That spreads the espresso through the matcha and milk, so one sip doesn’t taste like sweet milk and the next tastes like straight coffee.
Can you use instant coffee instead of espresso?
You can, but the drink will have a different body and finish. Espresso gives the latte concentrated roast flavor and crema, while instant coffee tends to taste flatter. If you make the swap, keep the matcha concentrate smooth and taste before adding extra sweetener.
Is ceremonial-grade matcha required?
No. You need fresh, flavorful matcha that can hold its own against espresso and milk. A higher grade may taste smoother when served plain, but the label alone won’t fix stale powder or poor whisking. Taste the powder before buying a large amount.