Every day, people in the United States drink 124 million espresso-based beverages. Making the perfect espresso shot is more than a morning ritual. It’s a passion and an art. It’s about finding the perfect blend of strength and flavor.
I will guide you through essential brewing tips to get that perfect espresso shot. This journey is rooted in both science and satisfying our senses.
I have found ways that could save the coffee industry $1.1 billion every year. Coffee experts like Chris Hendon support this, but artisans like Nick Cho question it.
The best way to make espresso is still debated. But I am here to help you make the ideal espresso shot. This is for everyone who loves coffee, no matter their view.
Getting a flawless espresso shot requires passion and attention to detail. You need to weigh your grounds and master the timing. Also, you must understand the signs of a good espresso extraction.
This leads to a perfect cup—a mix of taste and tradition. We will look at every step together. With each sip, you’ll taste the effort, care, and accuracy that make an espresso stand out.
Key Takeaways
- Delve into the significance of espresso in American daily life, with over 124 million drinks enjoyed per day.
- Discover how precision in the espresso-making process can lead to significant savings and efficiency in the coffee industry.
- Understand that consistency in your technique is as crucial as the coffee you choose.
- Embrace the minute details that elevate your shot from good to exceptional.
- Experience the journey from coffee bean to espresso shot with a step-by-step guided approach tailored for both novices and aficionados.
Embarking on the Espresso Journey
Delving into home barista skills, we ponder how to achieve a great espresso shot. Understanding espresso requires finesse and precision. It’s about finding the right balance between extraction time and quality.
To start, know the basics of a good shot. A single shot uses 1–1.5 ounces of water and 7 grammes of coffee. It brews in just 20–25 seconds. A double shot doubles these amounts but keeps the brew time the same. Using a Gaggia semi-automatic espresso machine helps, thanks to its specialised filter baskets.
Perfection under pressure is key. Aim for a tamping pressure of about 30 lbs. This ensures flavorful, consistent shots. The crema, produced under 9 bars of pressure, is the signature of a great espresso.
Also, temperature stability plays a critical role in achieving rich, creamy shots.
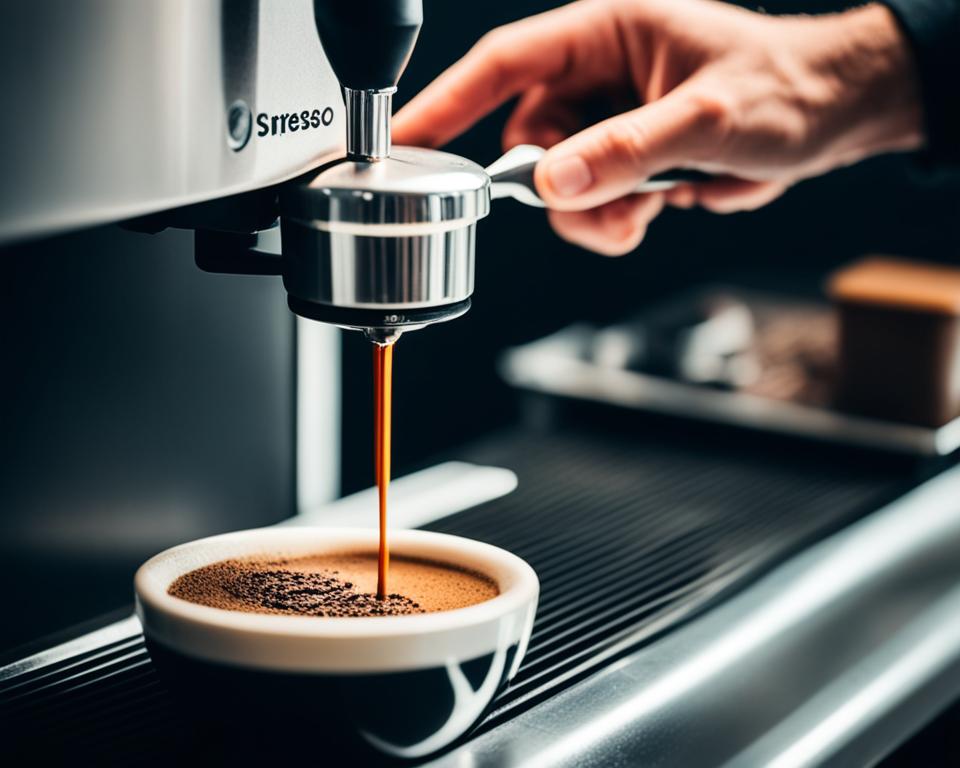
Don’t forget the simpler aspects. A single shot needs 7-9 grams of coffee, a double 14–16 grams. This small detail makes a big difference. For more tips, check out mastering espresso at home.
| Shot Type | Water | Ground Coffee | Extraction Time |
|---|---|---|---|
| Single Shot | 1-1.5 ounces | 7-9 grams | 20-25 seconds |
| Double Shot | 2-2.5 ounces | 14-16 grams | 20-25 seconds |
- For a single shot, the pressurised basket pairs seamlessly with ESE pods, simplifying the brewing process for beginners.
- For bolder espresso aficionados, the commercial-style basket calls for 14–16 grammes of coffee and a precise 30 pounds of pressure while tamping.
We have different espresso machines to explore: manual, semi-automatic, and super-automatic. Each offers a unique way to enjoy a great cup of coffee. Embrace this journey with passion and patience.
The best espresso is one that shows your dedication. For tips on improving your technique, visit espresso extraction time.
Demystifying Espresso Shot Essentials
Mastering espresso at home starts with knowing the dose, yield, and timing. These elements are key to perfect espresso crema and flavor. Let’s explore each aspect for a great shot every time.
Understanding the Espresso Recipe
Think of your espresso recipe as a guide for the perfect cup. It’s a mix of pressure, temperature, and time. This extracts flavours from the coffee bean.
Use a ratio of 20 grammes of coffee to 30 grammes of liquid and aim for precision. Fresh beans and a fine grind are important too. Let’s dive deeper.
Dose: The Starting Point of Flavour
Dose affects the espresso’s strength and depth. Whether using a manual press or a machine like the Breville Barista Express Impress, the correct amount is crucial.
Doses vary from 16g for a single shot to 22g for a triple. Consistency and freshly ground beans are key to flavour.
Yield: Measuring Your Success in Grammes
Yield is about the weight of your espresso, not just volume. It’s how you measure success accurately.
Using grammes for measurement gives you precision, even when espresso crema volume varies.
Timing: The Invisible Ingredient
Espresso extraction time is critical. It turns an average shot into something exceptional. Aim for 25–30 seconds per shot, adjusting the grind as needed. Fine-tuning this can make or break your espresso, so keep experimenting.
Perfecting your espresso shot strength changes with trial and error. Knowledge, coupled with tools like the SMEG Espresso Automatic Coffee Machine, helps.
They lay the groundwork for great espresso at home.
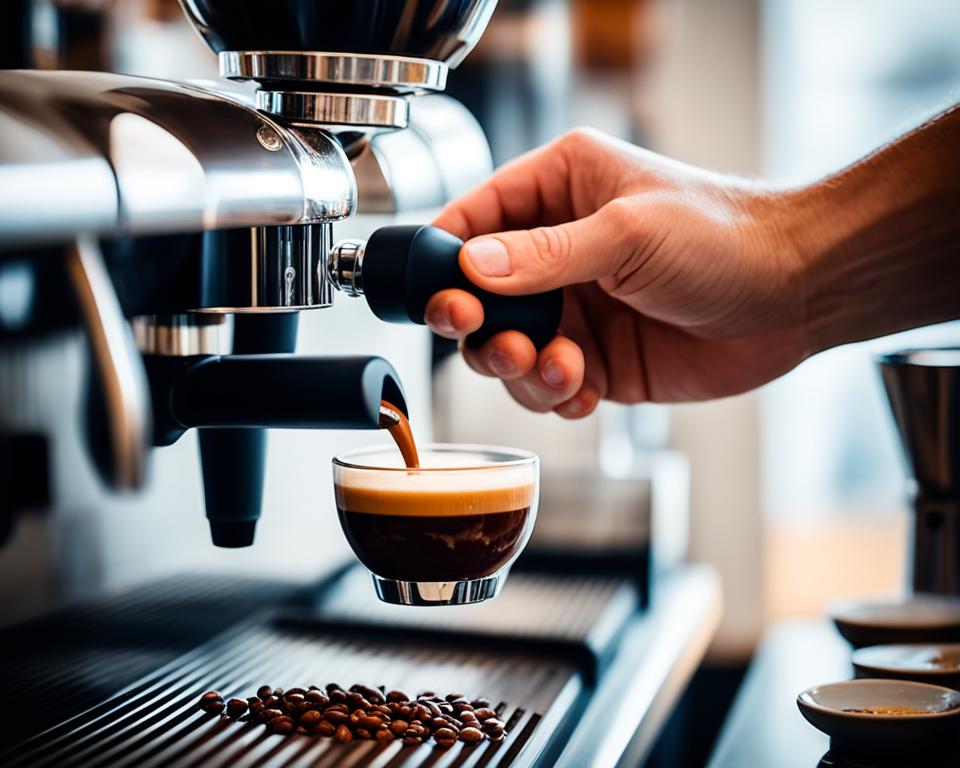
Modern machines, like the De’Longhi Magnifica Evo, offer precise controls for great espresso. But don’t overlook the importance of the basics.
Understanding and applying espresso essentials is key to perfect crema and shots every time.
The Perfect Espresso Shot: Mastering the Mechanisms
On your journey to the perfect espresso shot, every detail matters. This includes the grind’s precision and the tamp’s weight. I’ll guide you through these important steps.
This will make your path to a strong and tasty brew both fun and rewarding.
Precision Grinding for Optimal Flavour
Starting with a great shot means getting the grind size right. It should feel like sugar. A fast extraction might leave your shot tasting sour and weak. But if it’s too slow, it could taste bitter. The key to balance? The right equipment.
The Baratza Sette 270Wi is ideal for precise adjustments and comes with a built-in scale. Shoot for 18g for your double shot. That’s the secret to top-notch espresso.
The Art of Distribution and Tamping
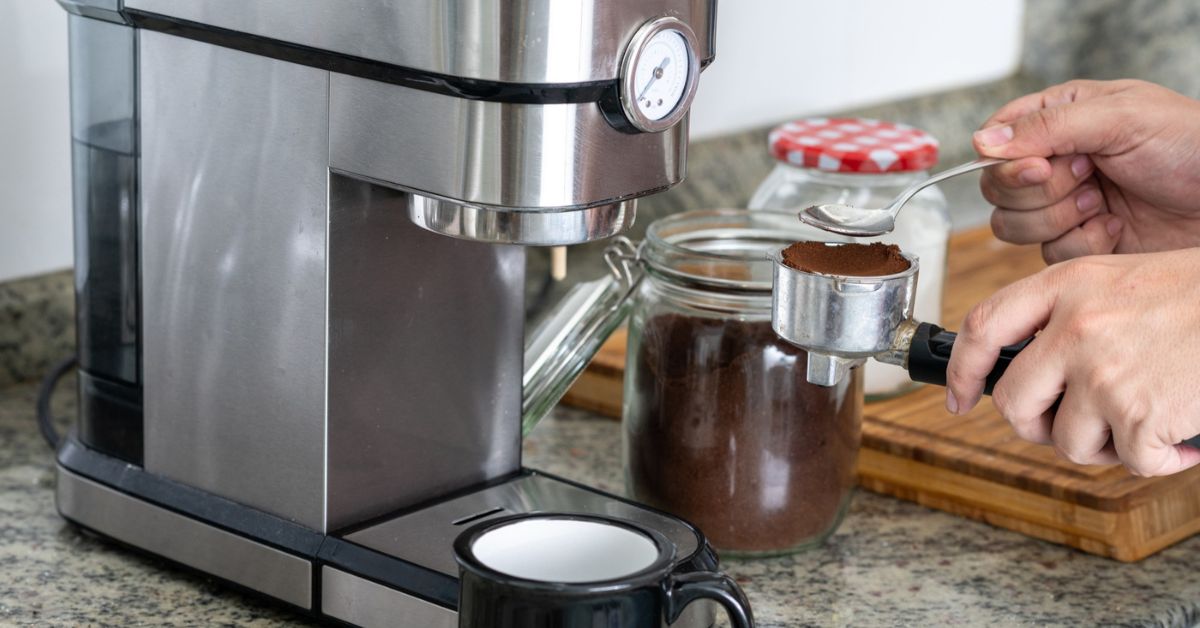
An even extraction starts with how you spread the grounds. Tap the portafilter lightly so the grounds settle. Then, press down with a tamper until the surface is smooth.
Remember, it’s about consistency, not force. Tools like the Asso Coffee Jack Leveller help make this easy. They’re great for a creamy top and a strong espresso shot.
Let’s look at some facts that show how espresso has evolved. Now, modern machines offer barista-level shots right in your kitchen.
| Feature | 19th Century Moriondo | 1906 Milan Fair | Post-WWII Gaggia | Modern Espresso Machines |
|---|---|---|---|---|
| Pressure | 1.5 bars | Up to 2 bars | 8-10 bars | 9+ bars |
| Temperature for Brewing | N/A | N/A | Standardized near boiling | Optimized around 195°F–205°F |
| Shot Size | Variable | Variable | Standardized to 1 oz | Programmable shot duration |
| Production Rate | N/A | 1,000 cups per hour | Manual operation | Varies, with automated options |
| Espresso Machine Rating | N/A | N/A | N/A | Over 4.5 stars |
Moriondo’s machine made one cup at a time, under low pressure. Today’s machines focus on precision and control. High pressure and better temperature settings make our brewing tips work better.
Now, making the perfect espresso shot is easier than ever. You can brew like a pro barista at home.
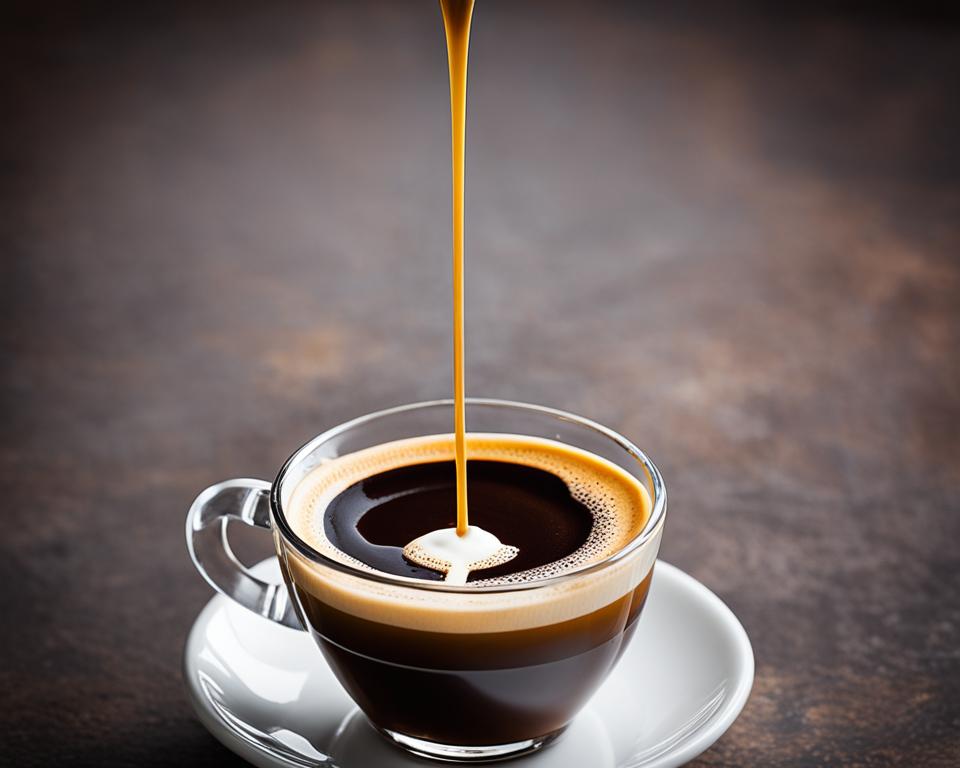
Brewing the Perfect Cup: From Theory to Practice
Talking about the art of perfecting espresso crema is a real passion for me. It’s not just talk. It shows a love for detail and striving for the best. Research in the science of a great brew tells us something interesting.
Espresso fans favour coffee concentrations of 8 to 10 percent by mass. Achieving this richness relies on the advanced technology of espresso machines.
Many experts point out that the espresso shot temperature is crucial. Hitting the right temperature between 195 and 205 degrees is key. It lets you get all the rich flavours from the coffee. But controlling temperature in such detail can be tricky.
For machines with single boilers, I suggest the cooling flush method. It helps you reach the ideal temperature range before pulling your shot.
It’s vital to keep an eye on factors like how water affects taste. For instance, soft water can make your coffee taste too acidic. On the other hand, hard water might add a chalky taste. So, make sure to adjust.
And about the freshness of coffee, it’s best to use beans not over four weeks old. This keeps the coffee’s lively taste.
Choosing the right grinder is key to the perfect coffee ground bed. Burr grinders are favoured because they give a uniform grind size. Unlike the inconsistent grind from blade grinders,.
There’s debate over how fine or coarse the grind should be. But remember, the character of your coffee depends a lot on this detail.
Don’t overlook coffee storage to keep it fresh. Experts and fans suggest storing coffee in airtight containers in the freezer. Follow these tips, and moving from theory to practice will make your espresso journey smooth.
Troubleshooting Tips for Peak Espresso Performance
Starting your home espresso journey may include some bumps. Don’t be discouraged. View these moments as chances to improve your espresso shot. Here’s how to tackle common issues for a perfect shot.
Adjusting for consistency
If your espresso isn’t consistent, accuracy is key. See fluctuations in your shots? Check your grind size. A finer grind slows the extraction, making a richer shot. A coarser grind does the opposite.
Using a reliable conical or flat burr grinder can help make precise changes. Changing your espresso basket size also matters. Moving from a 53-54mm basket to a 58mm one allows for larger doses and richer flavours.
For those upgrading their equipment, matching the grind to the new size is crucial. Precision-grade baskets that keep the coffee dose accurate can greatly improve shot quality.
Trying each shot, even the off ones, is part of the process. A bitter taste might mean the grind is too fine. Or, a weak shot could suggest needing less coffee. Use your taste to guide adjustments.
The goal is to enjoy and understand the flavour range your setup offers.
On the quest for the perfect shot, remember to adjust as your tastes and skills change. Key tips include consistent puck preparation, precise grinding, and brewing with care.
| Milk Type | Ideal Steaming Temperature (°F) | Temperature Range (°C) |
|---|---|---|
| Whole Milk | 140 – 155 | 60 – 68 |
| Skim Milk | 140 – 155 | 60 – 68 |
| Soy Milk | 135 – 145 | 57 – 63 |
| Almond Milk | 130 – 140 | 54 – 60 |
| Oat Milk | 135 – 145 | 57 – 63 |
Can the Techniques for Making a Perfect Espresso Shot Enhance My Mojito Lime Espresso Splash?
Perfecting an espresso shot involves precision and technique, which can indeed elevate your cocktail creations. By integrating espresso into a mojito, you can create a delightful fusion. Explore refreshing mojito lime espresso recipe ideas to take advantage of bold coffee flavors that harmonize beautifully with zesty lime and mint.
Conclusion
The journey to make the perfect espresso shot is both a science and an art. It needs knowledge and dedication. The right tools, like a good espresso machine, a precise grinder, and a steady tamper, greatly improve the experience. Every shot is a chance to get better, even though you might face challenges. Stay consistent.
Sticking to brewing standards is key, like the perfect water temperature between 195°F and 205°F. Also, extracting the shot for 25 to 30 seconds is important.
These methods have helped me make espresso that rivals my favourite coffee spots. Experimenting is also key. Using 15 grammes of coffee and a coarser grind saves money and cuts waste.
For espresso lovers, keep exploring and refining your brew. Check out ‘Intro to Espresso’ from Coffee School for more espresso brewing tips. Let the facts guide you to your best espresso recipe.
The joy of making a smooth, rich espresso is within reach. With practice, patience, and a love for espresso, you’ll perfect your cup.
FAQ
What’s the secret to a perfect espresso shot?
Mastering the right dose, yield, and timing is key. Also, make sure your grind is precise and your espresso machine is both clean and at the right temperature.
How do I start to brew great espresso at home?
Get to know your espresso machine well. Use quality coffee beans. Learn the basics of grinding, dosing, and extraction time.
How long should my espresso extraction take?
A good espresso extraction takes 25 to 30 seconds. Adjust this time to match your coffee beans and taste.
What dose should I use for my espresso?
For a double shot, use about 18 grammes of coffee. Adjust this amount to suit your taste and the type of coffee bean.
How do I know if I’ve yielded the right amount of espresso?
Use a scale to weigh your espresso output in grams. Start with a 1:1.5 coffee-to-espresso ratio. Then, adjust for your perfect taste.
Why is the grind size so important for making espresso?
Grind size affects water flow and flavour extraction. The ideal espresso grind is fine. Adjust to get the right extraction time.
What is the correct way to distribute and stamp my espresso grounds?
Evenly spread the grounds in the basket. Tap the portafilter to level them. Tamp firmly to create an even coffee bed. A leveller, like the Asso Coffee Jack Leveller, helps.
What temperature should my espresso machine be at for brewing?
Keep your espresso machine between 195 and 205 degrees Fahrenheit. Also, pre-heat your machine and portafilter for a consistent temperature.
How do I adjust my technique if my espresso isn’t turning out well?
If your espresso is off, check your grind size and extraction time first. Also, review your dosing and tamping. Make sure the machine is hot enough. Taste and adjust as needed.
Why is it important to keep tasting and adjusting my espresso shots?
Tasting and adjusting let you fine-tune the flavor. It helps you understand the impact of changes. This way, you can fix any issues and make your espresso just right.

