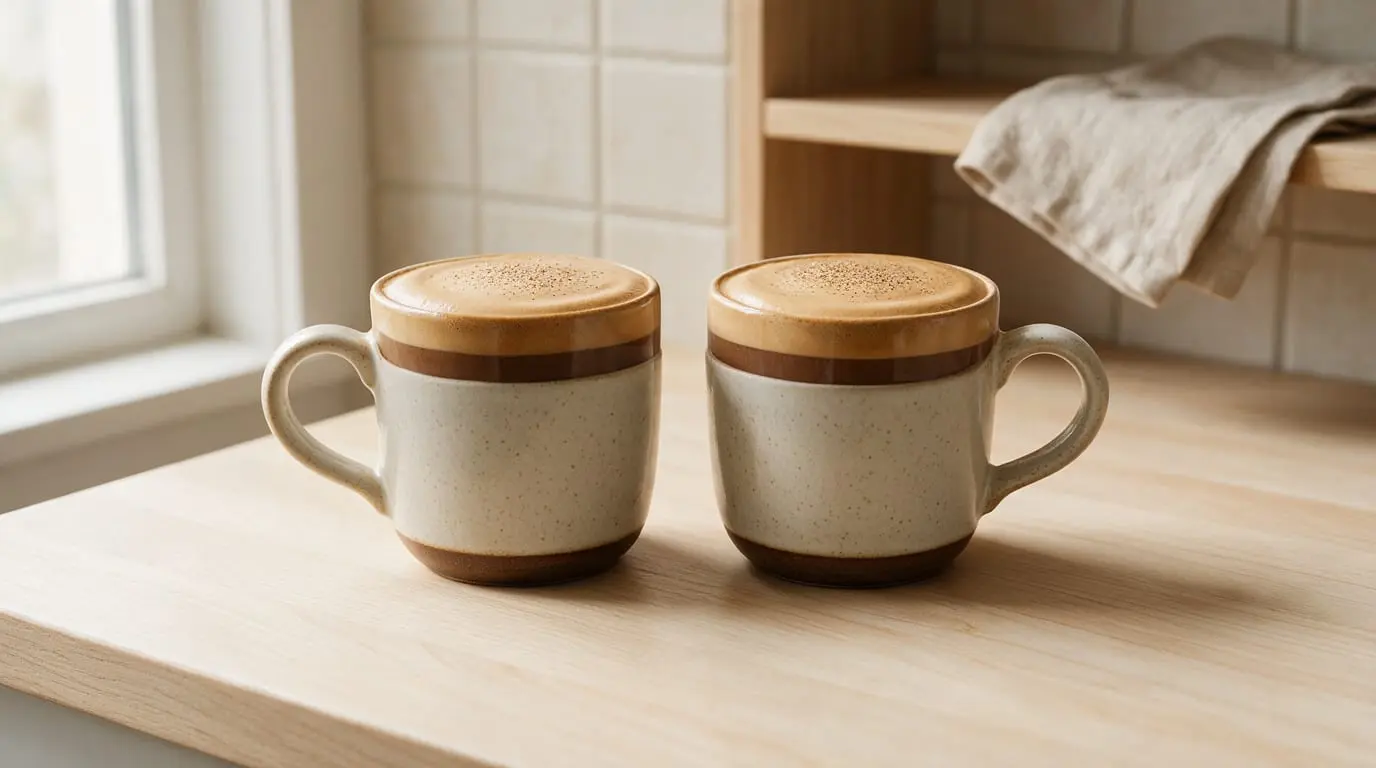

A pink velvet macchiato is a dreamy, unique drink when you build it with espresso, pink pitaya, cacao, vanilla, and a light cream cheese finish. It tastes like red velvet cake with a real coffee backbone: cocoa, berry, warm cake sweetness, and smooth milk. Make it iced for dramatic layers, or serve it hot for a softer, more blended drink.
Last updated: 2026-08-26
Is a pink velvet macchiato a dreamy drink?
Yes, if you keep the sweetness in check. The best version feels like red velvet cake in coffee form: soft cocoa, a little tangy creaminess, warm vanilla, and a clean espresso finish.
The drink is a flavored macchiato built around espresso and pink milk or foam. Cacao brings depth, pink pitaya brings color and a light fruity edge, and sweet cream cheese icing gives the drink its velvet-cake impression. Dunkin describes its version as rich espresso with red velvet cake flavor and hints of smooth cream cheese icing.
A pink velvet macchiato should taste like coffee first and dessert second. If the espresso disappears completely, use less syrup or more coffee.
What it tastes like
The flavor sits between a mocha and a red velvet cupcake. Espresso gives it a dark, roasted backbone. Cacao adds gentle bitterness, while honey or syrup rounds the edges with soft sweetness.
Pink pitaya contributes a vivid color and a mild fruit note. It won't make the drink taste strongly like berries. That keeps the cup in red velvet territory instead of turning it into a smoothie.
The cream cheese note should stay light. You want a smooth, slightly tangy finish with a clean mouthfeel. Vanilla connects the cocoa, milk, and sweet cream into one flavor.
The first sip can taste uneven if the drink is layered. The espresso sits high, while the sweeter milk settles below. Stirring brings the flavors together and gives you the balanced cup this drink needs.
The flavor formula
The drink works because each ingredient has a job.
| Ingredient | What it adds | What goes wrong |
|---|---|---|
| Espresso | Roast, bitterness, and structure | Weak coffee gets buried |
| Milk | Body and a silky texture | Thin milk makes the drink feel watery |
| Pink pitaya powder | Bright pink color and light fruitiness | Too much can taste earthy |
| Cacao powder | Red velvet's chocolate note | Too much makes the cup dusty and bitter |
| Honey or syrup | Sweetness and rounded flavor | Heavy use turns it cloying |
| Vanilla | Cake-like warmth | Too much tastes artificial |
| Sweet cream cheese icing | Tangy frosting finish | Too much makes the drink thick and heavy |
The documented home formula uses 1 tablespoon of pink pitaya powder, ½ tablespoon of cacao powder, 1 tablespoon of honey, 1 cup of milk of choice, and 2 shots of espresso. The recipe is made with cacao powder, pink pitaya powder, honey, plant milk, and espresso.
Mix the pitaya, cacao, honey, and vanilla into the milk before adding espresso. If you add dry cacao directly to the finished drink, it tends to float in bitter little clumps. Give the milk a proper stir first.
For the cream cheese note, use a small amount of sweet cream cheese icing. Stir it into warm milk so it melts smoothly. For an iced drink, loosen it with a splash of warm milk before combining it with the cold milk.
The ingredients that matter

Fresh ingredients make the drink taste cleaner. Powdered ingredients make it faster. Both work, but they give different results.
Pink pitaya
Pink pitaya powder gives the strongest natural-looking color. It also adds a quiet berry note that keeps the drink from tasting like plain cocoa milk.
Choose a powder with a bright color and a clean ingredient list. Pitaya can fade when mixed with a lot of coffee, so keep the espresso on top until you’re ready to stir.
Cacao
Use unsweetened cacao powder. The drink already has honey, syrup, or icing for sweetness, so sweetened cocoa can push it too far.
Cacao should sit in the background. You’re after a red velvet hint with a gentle chocolate finish. If the finished drink tastes dusty or harsh, reduce the cacao before changing the espresso.
Vanilla and sweet cream cheese icing
Vanilla supplies the cake-batter warmth that cocoa alone can't provide. A small amount goes a long way.
Sweet cream cheese icing gives the drink its signature tang. However, it can overpower the coffee if you treat it like a frosting latte. Keep the note light and let the espresso finish cleanly.
Milk
Whole milk gives the richest body and the smoothest foam. Oat milk brings a soft, creamy texture and works well in an iced drink. Almond milk looks bright and lets the pink color show, but it feels thinner.
Unsweetened milk is the better choice if you’re using honey, syrup, and icing together. Otherwise, several small sweeteners stack up fast.
Pink velvet versus red velvet
A pink velvet macchiato is a lighter, fruitier interpretation of a red velvet macchiato. The two drinks share espresso, cacao, vanilla, and sweet cream flavors. Pink pitaya shifts the color and adds a mild berry edge.
A red velvet macchiato leans darker and more cocoa-forward. A pink version usually feels brighter and softer because the color ingredient brings a little fruitiness.
The terms overlap in café menus. A pink velvet drink is a flavored espresso drink built around the red velvet flavor family, rather than a separate coffee style with strict rules.
The red velvet latte has a similar dessert profile, but more milk makes it softer and less layered. Choose the macchiato if you want the espresso to stay noticeable.
How to make one at home

This method uses the documented pitaya and cacao formula because it’s quick, bright, and easy to adjust. You don't need expensive equipment. A moka pot, strong brewed coffee, or instant espresso can stand in for the espresso if needed.
Ingredients
- 1 tablespoon pink pitaya powder
- ½ tablespoon unsweetened cacao powder
- 1 tablespoon honey
- 1 cup milk of choice
- 2 shots of espresso
- Vanilla, to taste
- A small amount of sweet cream cheese icing, optional
- Ice for the iced version
Method
- Warm a small splash of the milk and stir in the cacao powder. Keep stirring until smooth.
- Add the remaining milk, pink pitaya powder, honey, and vanilla. Stir until the color looks even.
- Add the sweet cream cheese icing if you’re using it. Warm milk blends it best. For an iced drink, cool the mixture before adding ice.
- Brew 2 shots of espresso.
- Fill a clear glass with ice for the iced version. Pour in the pink milk.
- Slowly pour the espresso over the back of a spoon. This keeps the layers visible.
- Add a light cap of milk foam if you want a softer finish.
- Stir before drinking.
The order matters. Dry cacao needs to dissolve before the milk gets cold, and espresso should go in last for the layered look.
For a machine-free version, brew strong coffee with a moka pot or another concentrated method. The result won’t have the same crema, but the cacao, milk, and pitaya still carry the drink.
The Dunkin pink velvet macchiato
Dunkin’s Pink Velvet Macchiato first debuted in January 2020, according to Dunkin’s Pink Velvet Macchiato description. It returned as part of a seasonal menu launching nationwide on December 27 and was available through late February.
Dunkin describes the drink as rich espresso with red velvet cake flavor and hints of smooth cream cheese icing. That gives you the target: coffee, cocoa, cake sweetness, and a gentle frosting finish.
A homemade version shouldn't chase an exact commercial replica. Café syrups are built for consistency and sweetness, while your kitchen version can taste fresher and let the espresso show. Use the pitaya, cacao, honey, milk, and espresso formula above, then adjust the icing and honey after the first stir.
For a closer dessert-style cup, use richer milk and a little more icing. For a cleaner coffee drink, use unsweetened milk and keep the icing barely noticeable. The second route is the one I prefer because the espresso still has somewhere to go.
Pink velvet coffee, latte, and macchiato
These names describe different builds, though cafés use them loosely.
| Drink | Main build | Best reason to choose it |
|---|---|---|
| Pink velvet drink | Any pink, sweet, creamy beverage | You want the flavor without strict coffee rules |
| Pink velvet coffee | Coffee mixed with pink velvet flavor | You want an easy everyday version |
| Pink velvet latte | More milk with espresso and pink velvet flavor | You prefer a soft, creamy cup |
| Pink macchiato | Espresso layered over pink milk or foam | You want stronger coffee and visible layers |
A latte mixes into a smooth drink with more milk. A macchiato keeps the espresso more prominent and uses layering as part of the presentation.
The classic macchiato is espresso marked with a small amount of milk foam. American café versions often use the name for a layered milk-and-espresso drink, so the pink version belongs to that modern café tradition.
A pink velvet latte uses the same dessert direction with more milk, while that recipe uses raspberry syrup for its pink flavor. If you’re making pink velvet coffee, stir everything together and skip the foam. The drink gets easier, but the macchiato effect disappears.
Pick the right preparation
Iced preparation shows off the drink best. Cold pink milk sits below the espresso, and the contrast creates the pink-and-brown layers people expect from a café macchiato.
For iced coffee, dissolve the cacao and honey in a warm splash of milk first. Cool the mixture, add the remaining milk and pitaya, then pour it over ice. Add espresso slowly so it stays above the milk.
Hot preparation tastes rounder and more integrated. Steam the milk with the pitaya, cacao, honey, and vanilla, then pour the espresso through the center. The layers will fade quickly, but the texture will feel smoother.
Avoid boiling the milk. High heat can flatten the fresh flavor and make cream cheese icing behave badly. Warm milk gives you a silky drink and a cleaner finish.
Layering makes it look dreamy

Use a clear glass for the iced version. An opaque mug hides the color, and this is one drink where appearance earns its space.
Start with the pink milk and ice. Then pour the espresso slowly over a spoon or down the side of the glass. A gentle pour keeps the espresso floating instead of turning the whole drink brown.
The foam belongs on top. Keep it light so the drink still looks pink below and doesn’t become a pile of sweet topping.
Layers are for the eyes, while stirring decides the final flavor. Once you’ve admired them, give the drink a proper stir.
Stir before drinking
Stirring combines the sharp espresso with the sweet milk, cacao, and cream cheese note. Without it, the first sip can be mostly espresso and the last can be mostly syrup.
Use a long spoon and reach the bottom of the glass. A quick swirl across the surface won't blend the dense sweet layer underneath.
The finished drink should taste creamy first, then lightly chocolatey, with espresso cutting through at the end. If the coffee still tastes harsh, adjust the milk or sweetness rather than hiding it under more topping.
Swaps that still taste good
You can lower the sweetness without stripping away the drink’s personality.
- Use unsweetened milk to remove one layer of added sugar.
- Replace part of the honey with extra vanilla for more cake-like aroma.
- Reduce the icing first if the drink tastes heavy.
- Use unsweetened cacao for chocolate depth without extra sweetness.
- Choose a lighter milk if you want a thinner, brighter drink.
- Skip whipped cream. It adds weight and hides the espresso.
- Use pitaya powder for color instead of a heavily sweetened pink syrup.
These swaps change the body. Almond milk will feel lighter than whole milk, and less icing will remove some of the cheesecake-like finish. That’s a fair trade if you want a drink you can finish without a sugar crash.
Pink salt is optional, but it doesn't make the coffee pink. A tiny pinch can sharpen sweetness and soften bitterness, yet regular salt does the same job. Buy pink salt for its flavor or texture, not for the color story.
Taste and adjust
Taste after stirring, then change one thing at a time.
| If the drink tastes… | Adjust this |
|---|---|
| Too sweet | Reduce honey, syrup, or icing |
| Too bitter | Add milk or reduce cacao |
| Too weak | Use stronger coffee or less milk |
| Too fruity | Use less pitaya |
| Too pale | Add more pitaya gradually |
| Too thin | Use richer milk or more foam |
| Too heavy | Use unsweetened milk and less icing |
| Too much like hot chocolate | Add a stronger espresso finish |
The ideal cup is creamy but still coffee-led. You should taste cocoa and vanilla without losing the roasted espresso edge.
Color can be adjusted separately from sweetness. That’s the useful part of pitaya powder. You can brighten the drink without dumping in more syrup.
If the drink needs more sweetness, add it after stirring. You’ll need less than you think once the espresso and cacao are fully blended.
Choose it for the right occasion
A pink velvet macchiato fits Valentine’s Day, brunch, birthdays, and any morning that needs a little color. It also works as an afternoon dessert drink if you keep the espresso strong.
Skip it if you want a clean, unsweetened coffee. The flavor depends on milk, cocoa, and cake-like sweetness. A simple pour-over will serve that mood better.
For another layered build, use the latte macchiato milk-first method. If you like sweeter coffee without pink coloring, the birthday cake latte follows the same dessert-coffee logic.
FAQ
Can you make a pink velvet macchiato with plant milk?
Yes. Plant milk works in the base, especially oat milk for a soft texture. Choose an unsweetened version if you’re also using honey and icing.
Does the espresso have to be poured on top?
No. Pouring it last creates the visible layers, but mixing it in gives you a more even first sip. The flavor matters more than keeping the layers intact.
Which milk gives the fullest texture?
Whole milk gives the richest body and smoothest foam. Oat milk comes close in a softer, slightly sweeter direction. Almond milk keeps the color bright but makes the drink feel lighter.
Can you leave out the cream cheese icing?
Yes. The cacao, vanilla, milk, pitaya, honey, and espresso still make a convincing pink velvet drink. Without the icing, the finish will be cleaner and less tangy.
Why does the drink taste more like cocoa than red velvet?
Red velvet flavor needs more than chocolate. Add vanilla and a small amount of cream cheese icing, then taste again after stirring. Cacao alone makes a mocha-style drink.