Grind your coffee medium-fine for a moka pot, and most bitter, sputtering mornings go away. That means finer than drip coffee but clearly coarser than espresso, with the gritty feel of fine sand. Fill the basket loosely, skip the tamping, then taste and adjust one small grinder step at a time.
What grind size should you use for a moka pot?
Use a medium-fine grind, halfway between a standard drip grind and a true espresso grind. Medium-fine means quite finely ground, just not at espresso levels of fineness. If you remember one thing from this page, make it that middle zone.
A moka pot is a stovetop brewer. Water heats in the bottom chamber, steam pressure pushes it up through a basket of grounds, and coffee collects in the top. The result is strong, syrupy, and espresso-like in spirit. However, it runs at much lower pressure than a machine, so it needs its own grind.
It suits anyone who wants a punchy, concentrated cup for sipping straight or mixing with milk, without buying an espresso machine. The tradeoff is that the line between rich and burnt is thin. For more ways to get that kind of cup, see our guide to making espresso-style coffee without a machine.
What the right grounds look and feel like
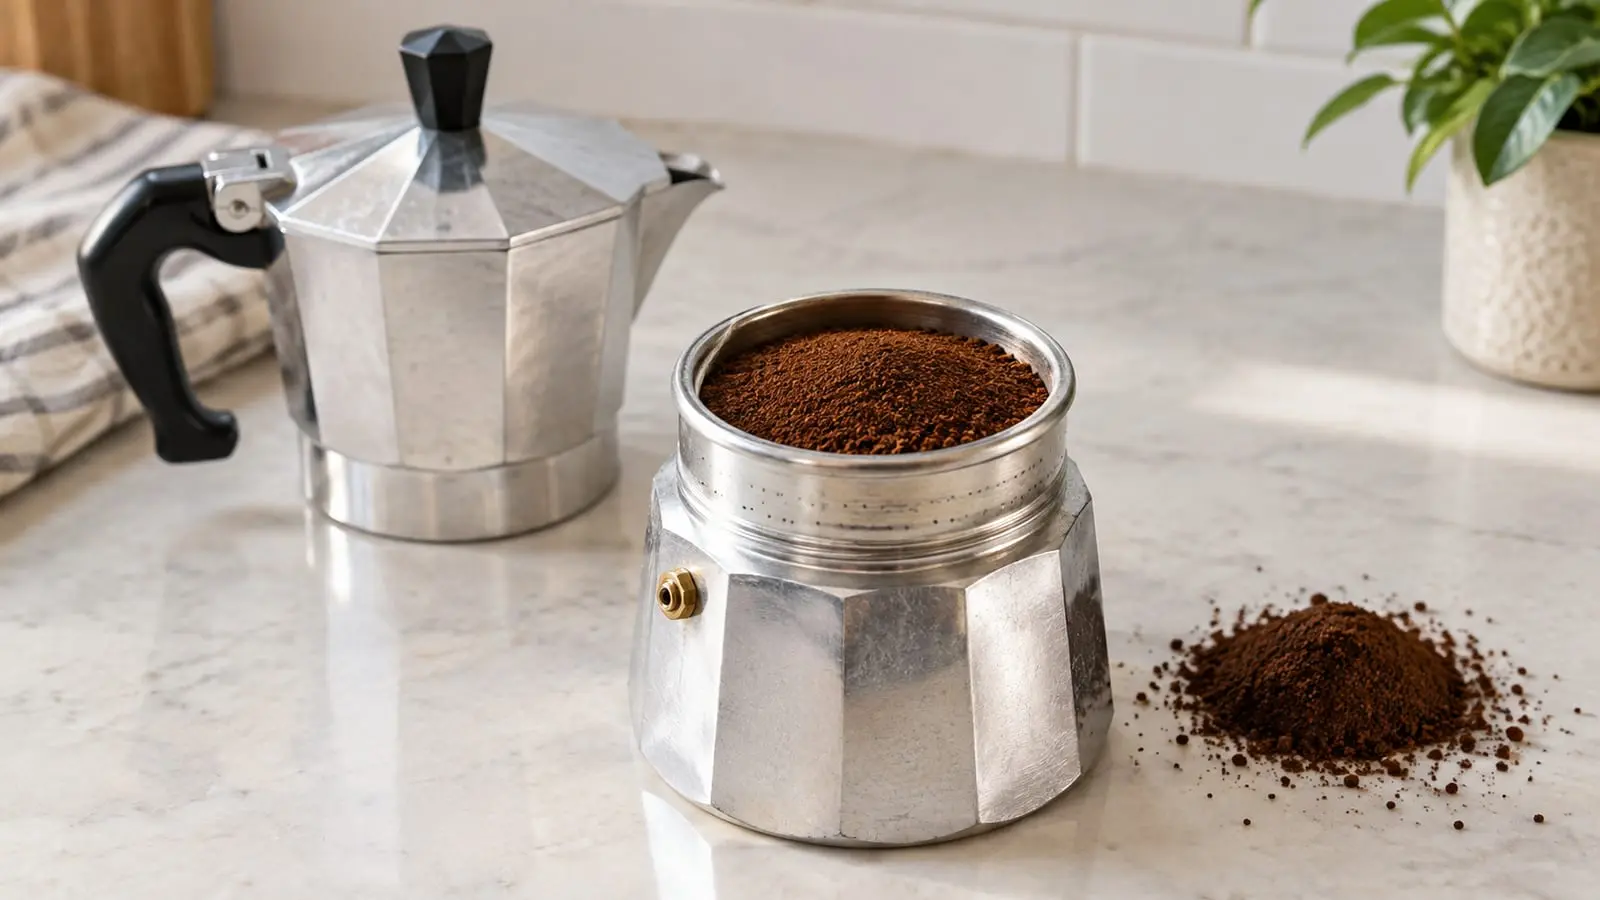
Pinch some grounds between your thumb and finger. Good moka pot coffee feels like fine sand. It's gritty, you can still feel separate particles, and it pours off a spoon without clumping.
Your fingers are more reliable than any dial number, so use these checks:
- Too fine: soft like flour or powdered sugar, holds a fingerprint when pressed, and cakes together. This is the grind behind most sputtering pots.
- Just right: fine sand, slightly gritty, flows freely, and doesn't stick to your fingers.
- Too coarse: chunky like coarse sea salt, with visible flakes that rattle loosely in the basket. That's drifting toward drip territory.
French press sits at the far coarse end of that scale. If you brew both, our piece on the ideal French press grind covers the other side. Keep the two grinds clearly apart, because a French press grind in a moka pot brews thin and watery.
Why espresso-fine coffee chokes a moka pot
Espresso grounds are built for a machine that forces water through at high pressure. A moka pot only has steam pushing gently from below. That push can't move water easily through a dense bed of powder.
So the water stalls while the pot keeps heating. The coffee that does make it through has sat against hot grounds too long, and you taste it as harsh, bitter, and a little burnt. Fine particles also slip through the filter plate, leaving sludge at the bottom of your cup.
Choked flow also causes sputtering. Pressure builds until the coffee bursts out in spits instead of a steady stream. In bad cases the safety valve on the base starts to hiss. That's the pot telling you to back off a click.
What happens when the grind is too coarse?
Coarse grounds let water rush straight through. The stream comes up fast and pale, and the brew finishes before the water can pull out the sweet, heavy flavors. As a result, you get a thin, sour cup that smells like coffee but tastes hollow.
Coffee people call this underextraction. In plain words, the water didn't dissolve enough flavor from the grounds. The body suffers too, so you lose that silky, almost syrupy texture a moka pot does so well.
The fix is simple. Go one step finer, keep the heat and water the same, and taste again.
How to set your grinder

Start in your grinder's medium-fine zone and move in small steps. One click or one notch per brew is plenty, because a moka pot reacts fast to small changes.
Grinder labels aren't universal. A "6" on one brand has nothing to do with a "6" on another, and even two units of the same model can drift apart. Still, these published baseline settings make a sensible first guess, and your own sweet spot will likely land a click or so away:
| Grinder | Baseline moka pot setting |
|---|---|
| Baratza Encore | Setting 6 |
| Niche Zero | Setting 25 |
| Rhino Compact hand grinder | Three clicks from zero |
If your grinder isn't listed, find the setting you'd use for espresso and the one you'd use for drip. Then start halfway between them and adjust from there.
Blade grinders are the weak spot here. They chop beans into a mix of dust and chunks, so the same cup can taste bitter and sour at once. If that's what you own, grind in short pulses and shake the grinder between bursts. A burr grinder is the first upgrade worth buying.
Dial it in by taste and flow
Your cup and the stream both tell you what to change. Watch the spout while it brews, then taste the coffee black before you add milk. To dial in just means nudging one thing at a time until the cup tastes balanced. These are the problems you'll actually run into, and the move that fixes each one:
| What you notice | Likely cause | What to change |
|---|---|---|
| Bitter, harsh, ashy | Grind too fine, heat too high, or brewed too long | Go one click coarser, lower the heat, stop sooner |
| Sour, thin, weak | Grind too coarse or basket underfilled | Go one click finer, fill the basket level |
| Slow trickle, early sputtering | Grind too fine or grounds tamped | Go coarser, fill loosely without pressing |
| Fast, pale gush | Grind too coarse or heat too high | Go finer, turn the heat down |
| Hissing safety valve | Grounds too fine or packed down | Go coarser, stop pressing the coffee |
Bitterness isn't always a grind problem. A flame that's too high causes the same harsh edge. So if your grounds already feel like fine sand, check the heat first.
Change one thing per brew. If you move the grind and the heat together, you won't know which one fixed it.
Dose and water level matter as much as grind
A moka pot has its ratio built in. The basket holds a fixed amount of coffee and the safety valve marks a fixed amount of water. Your job is to fill both the same way every time.
Fill the basket all the way, loose and level. An underfilled basket lets water channel, which means it finds easy paths around the coffee instead of through it. That brews weak and sour even with a perfect grind.
Fill the base with water to just below the safety valve, the small knob on the side of the bottom chamber. Never cover it, because water above the valve stops it from releasing pressure the way it should.
Want a milder cup? Don't cut the coffee to make it weaker. Brew with a full basket, then add a splash of hot water to your mug.
Don't tamp the basket
Level the coffee and stop there. Tamping packs the grounds into a tight puck, and a moka pot doesn't have the pressure to push water through it.
Pressed coffee brews slow and bitter. Water also forces its way through the weakest spots, so some grounds overextract while others barely get wet. That uneven extraction tastes muddy and harsh at the same time.
To level, mound the coffee slightly over the top. Then sweep a finger or butter knife across the rim. Finally, brush stray grounds off the rim so the top seals cleanly.
How do you brew without burning the coffee?
Start with hot water in the base. Cold water means the pot sits on the burner much longer. Meanwhile, the hot metal bakes the grounds in the basket before any water reaches them, and that's where the cooked, metallic taste comes from.
Heat your water in a kettle until it's just off the boil, then pour it into the base. Work quickly once it's in. Drop in the filled basket, then screw on the top firmly while holding the base with a towel, because it gets hot fast.
Leave the lid open as it brews. You'll want to watch the stream, since that's your best signal for when to pull it off.
Keep the heat low and stop before the sputter
Use low-to-medium heat, and keep the flame narrower than the base of the pot. On gas, flames licking up the sides scorch the handle and overheat the coffee.
A good brew rises as a steady, honey-colored stream. If it spurts or foams up pale and fast, turn the heat down a notch. Patience pays off here, because gentle heat protects the coffee's sweetness.
Pull the pot off the burner at the first gurgle. That sound means the water is nearly gone and steam is blowing through, dragging bitter, burnt flavors into the top. Stop at the first gurgle, not the last spit.
Then run the base under cold tap water to halt the brew. Give it a stir before pouring, because the first coffee out is the strongest and stirring evens it out.
A simple starting recipe
Use this baseline every time until the cup tastes right, then change one thing at a time.
- Grind fresh beans medium-fine, with the feel of fine sand.
- Heat water in a kettle until just off the boil.
- Pour hot water into the base, stopping just below the safety valve.
- Fill the basket loosely to the top, level it, and wipe the rim.
- Screw on the top firmly, holding the hot base with a towel.
- Set the pot on low-to-medium heat with the lid open.
- Remove it at the first gurgle and cool the base under cold water.
- Stir the coffee in the top chamber, then pour.
Taste it black first. Then use the troubleshooting table above to make your next move. If you want to see how this method compares to others, our beginner's guide to top brewing techniques lays out the main ones.
Fresh beans make every adjustment easier
Stale coffee makes grind tuning close to impossible. Old beans taste flat and papery no matter the setting, so you can't tell whether a change helped.
Buy whole beans with a recent roast date and grind right before you brew. Fresh-ground coffee gives you clear feedback. Move one click finer and you'll taste the extra body and sweetness right away.
Medium and dark roasts are the classic moka pot choice, because they turn chocolatey and rich under its strong brew. Light roasts work too, though they can taste sharp. For example, a slightly finer grind helps pull out their bright, fruity sweetness without tipping into sour.
Fresh beans and a decent burr grinder will do more for your coffee than a fancier pot ever will.
FAQ
Does grind size change with the size of the moka pot?
No. The same medium-fine texture works for moka pots of all sizes, from single-serve pots to big family ones. A larger pot simply holds more grounds and more water, so the amount changes while the grind stays put. If you own two sizes, leave the grinder setting alone and just swap the pot.
Can you use pre-ground coffee in a moka pot?
Yes, though you give up some flavor for the convenience. Pass on bags labeled for espresso, since they're often ground fine enough to choke the pot. Standard drip grind runs a touch coarse but still makes a decent, slightly lighter cup. Better yet, ask your local roaster for a stovetop grind, and keep the bag sealed airtight because ground coffee loses its aroma quickly.
Why is my moka pot leaking from the middle?
It's almost always one of three things: grounds stuck on the rim, a worn rubber gasket, or a top that isn't screwed on tight. Clean the rim before every brew. Replace the gasket once it turns hard, flattened, or cracked, since a tired seal won't hold pressure no matter how hard you twist.
How should you clean a moka pot?
Rinse every part with hot water after each use, then let the pieces dry apart before you put the pot back together. Skip the dishwasher, especially with aluminum pots, because harsh detergent dulls and pits the metal. Now and then, hold the filter plate up to the light and clear any clogged holes, because blocked holes slow the flow just like a too-fine grind.