
What if your morning cup could transform from a simple habit into a daily ritual of discovery?
I asked myself that years ago. My journey started with a realization—that dark, aromatic drink is more than a caffeine fix. It’s a complex craft. It asks for patience and a little curiosity.
I’ve spent years testing methods at home. I wanted every sip to meet a high standard. You don’t need expensive gear to start. Many classic tools have proven their worth for over a century.
Melitta Bentz created the first pour-over prototypes more than 100 years ago. Later, the Hario V60 became a favorite in specialty shops. This history shows a simple truth. Great results often come from simple, refined ways.
Today, I’ll share my no-nonsense approach. Let’s navigate the world of equipment and extraction science together. It’s the most rewarding way to upgrade your morning.
Key Takeaways
- Excellent coffee starts with understanding simple, time-tested methods.
- You don’t need a big budget—many essential tools are affordable and proven.
- Patience and attention to detail matter more than expensive gadgets.
- The process from bean to cup is a craft worth exploring.
- Your daily routine can become a rewarding personal ritual.
- Extraction science can be approachable and practical for anyone.
- Personal testing leads to the best results for your unique taste.
Exploring the World of Coffee Brewing
Ever noticed how a great cup seems to tell a story with every sip? That first whiff of steam carries more than just heat. It brings a preview of the experience ahead.
I always start by inhaling deeply. The scent tells me what to expect. A bright, fruity note hints at a lively drink. A deep, chocolatey smell promises something rich and smooth.
Understanding Flavor and Aroma
The aroma is your first clue. It’s just as vital as the final taste. My French press, for instance, is a champion here. Its full immersion process coaxes out incredible fragrant oils.
This creates a deep, inviting scent. It makes the whole ritual more satisfying. Your nose sets the stage for your palate.

The Art and Science Behind a Great Cup
Creating that perfect drink is a balance. It’s part intuition, part simple chemistry. Hot water acts as a solvent. It pulls flavors from the ground beans.
You can guide this extraction. Adjust your water heat or how long the grounds steep. Get it right, and you avoid harsh bitterness or flat sourness.
The goal is harmony. You want the sweet spot where oils and soluble solids mix well. This is why beans from different places shine with specific preparation styles.
| Variable | Effect on Taste | Typical Target |
|---|---|---|
| Water Temperature | Higher heat extracts faster, can overdo it; lower heat under-extracts. | 195°F – 205°F |
| Grind Size | Finer particles offer more surface area, speeding up the process. | Match to your brewer |
| Contact Time | Longer steeping increases strength and body significantly. | 2 – 5 minutes |
Essential Equipment for Home Coffee Brewing
Your journey into better coffee begins not with magic, but with a few key pieces of reliable gear. I built my setup over time, testing what truly mattered.
Two tools stand out as non-negotiable. A good grinder and a trusted brewer form the core of any serious home barista’s kit.
Choosing the Right Grinder
This is your single most important purchase. Freshly ground beans release their full flavor, but only if the particles are consistent.
Blade choppers create uneven dust and boulders. This leads to a muddy, unbalanced cup. A burr grinder is the answer.
Models like the Opus Conical Burr Grinder offer adjustable settings. You can go from coarse for a press to fine for other methods. That control is everything.
| Type | Key Feature | Best For |
|---|---|---|
| Blade Grinder | Fast, inexpensive | Very occasional use, budget starts |
| Manual Burr Grinder | Precise, quiet, portable | Small batches, travel, hands-on ritual |
| Electric Burr Grinder | Consistent, convenient, fast | Daily home use, multiple brew styles |
Selecting Trusted Coffee Makers
Your brewer is a partner. Do you want the push-button ease of a machine or the hands-on control of manual tools?
I always suggest starting simple. A basic dripper or French press teaches you the fundamentals. You learn about water flow and steep time.
Remember, a fancy machine won’t save low-quality beans. Your budget is best spent on fresh, high-quality beans first. The maker comes second.
coffee brewing techniques for beginners
Let’s simplify things. Every method you’ll encounter at home falls under one of two umbrellas: water flowing through grounds or grounds steeping in water.
The first is percolation. Gravity pulls hot water through a bed of grounds. Think of a classic pour-over or a drip machine. The second is infusion, sometimes called immersion. Here, grounds soak in water for a set time—like in a French press.
Choosing between these styles often comes down to your morning mood. Do you want a quick, hands-off process or a more meditative ritual? I’ve found manual methods, like a pour-over, offer a fantastic way to learn. You directly control the variables that shape your cup.
Your filter choice matters, too. Paper filters trap oils and fine sediment. This gives you a cleaner, lighter-tasting drink. Metal filters, common in presses, let those oils through. The result is a richer, fuller body.
My best advice? Try both. See which result you prefer. Simple, effective tools are perfect for this kind of exploration. This low-tech coffee brewing approach lets you focus on taste, not tech.
Perfecting the Pour Over Method
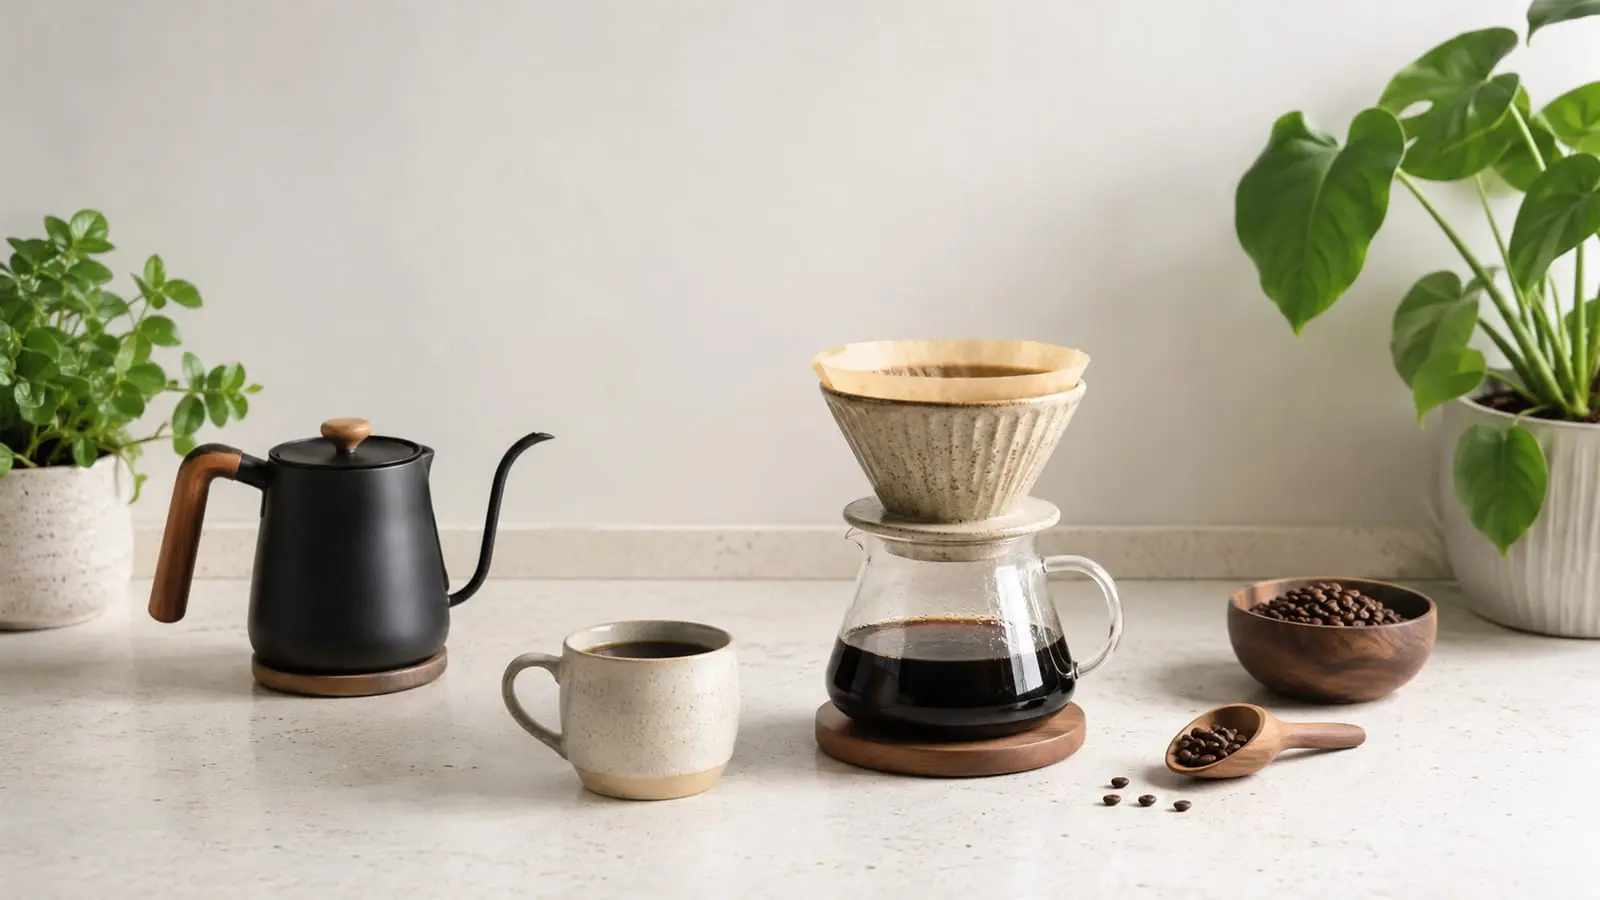
When I want to taste every nuance in my beans, I reach for the pour over cone—it’s a filter for purity. This method gives me incredible control. The result is a clean, bright drink that highlights delicate flavors.
Step-by-Step Brewing Process
My routine starts with 22 grams of medium-fine beans. I place them into a paper filter at the top of my dripper.
Next, I heat water to about 200°F. Using a gooseneck kettle, I pour just enough to saturate all grounds. This “bloom” takes about 10 seconds.
Then, I continue pouring in a slow, steady spiral. I keep the water level about an inch above the bed. I usually do three more pours after the initial bloom.
| Variable | Effect on the Cup | My Recommendation |
|---|---|---|
| Grind Size | Fine grind can clog; coarse grind makes a weak drink. | Medium-fine, like table salt |
| Water Temperature | Too hot burns; too cool under-extracts. | 195°F – 205°F |
| Pour Pattern | Center pours miss edges; spirals ensure even extraction. | Slow, concentric circles |
| Total Time | Short time is sour; long time turns bitter. | 2.5 to 3.5 minutes |
Tips for Consistency and Clarity
Consistency is everything. Use the same amount of beans and water each time. A scale helps immensely.
The paper filter is key for clarity. It traps oils and fine sediment. This lets the bean’s natural sweetness shine through.
I suggest a Hario V60 or similar dripper. Its design promotes excellent flow. You’ll get a cup with stunning acidity and complex notes.
Mastering the French Press for Rich Coffee Flavor
For a brew that’s unapologetically bold and textured, my kitchen counter always features a French press. This method delivers a heavy, full-bodied cup. It retains the bean’s natural oils and fine solids that paper filters remove.
That creates a uniquely rich and smooth drink. It’s also my top choice for serving a crowd. A large press can easily make enough for several people.
Achieving the Ideal Brew Time
My go-to recipe uses 60 grams of coarsely ground beans. I add them to an 840-gram (or milliliter) press. Then, I pour hot water just off the boil over them.
The key is the four-minute steep. I set a timer and let it sit undisturbed. This allows for full, even extraction without harshness.
When time’s up, I press the plunger down slowly and firmly. I stop before hitting the very bottom to avoid stirring up sediment.
Cleaning and Maintenance Essentials
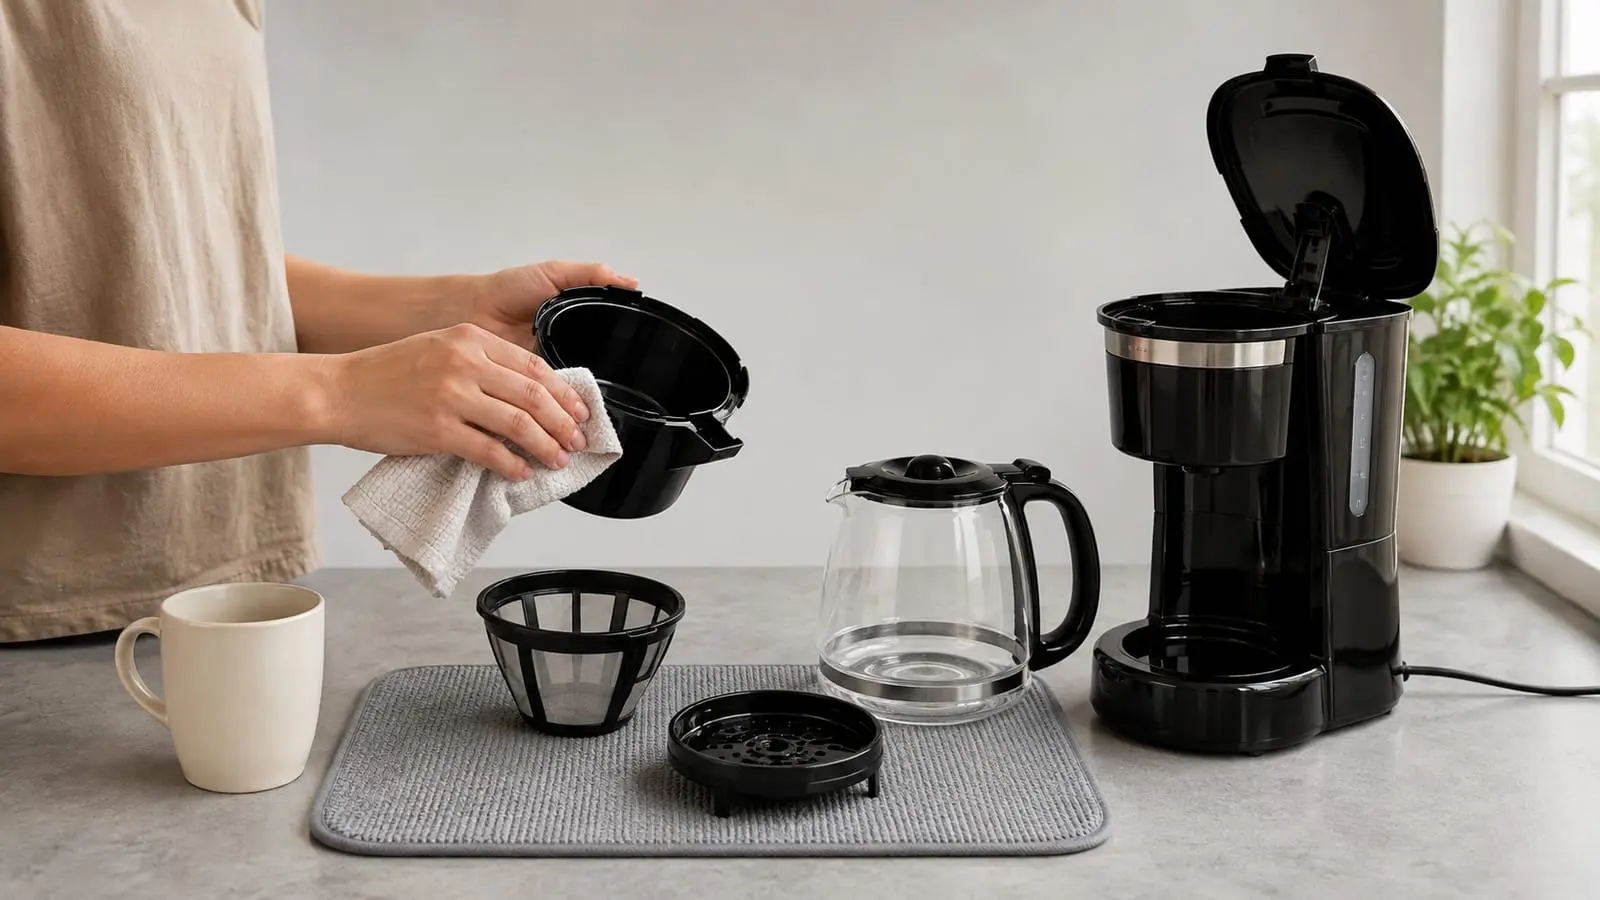
You must be meticulous with cleaning. Old oils trapped in the fine mesh screen will ruin your next cup. They create a stale, bitter flavor.
I always dismantle the metal filter assembly after every single use. I rinse all parts—the plunger, filter screen, and rod—thoroughly. A little dish soap helps cut through the residual oils.
Let everything air-dry completely before reassembling. This simple habit protects the taste of your future brews.
Exploring the Aeropress Advantage
Sometimes the best discoveries come from a simple plastic tube—that’s the Aeropress story for me. Launched in 2005, it quickly became a cult favorite. Its magic lies in portability and a brew time under two minutes.
I love its versatility. You can make a concentrated shot or a standard cup. My go-to is the inverted method. I add 20 grams of beans and 200 grams of hot water. Then I flip it onto my mug.
Experimenting with Different Recipes
The device uses air pressure to force water through the grounds. This lets you try thousands of recipes. You can dial in your perfect strength with small tweaks.
Cleaning is a simple part of the routine. Just pop the used grounds puck into the trash. Rinse the rubber seal, and you’re done. It’s a perfect travel companion for any adventure.
| Recipe Style | Grind Size | Water Temp | Steep Time | Result |
|---|---|---|---|---|
| Standard | Fine | 175°F | 1 minute | Clean, bright cup |
| Inverted | Medium | 200°F | 2 minutes | Rich, full-bodied |
| Concentrated Shot | Extra Fine | 205°F | 30 seconds | Strong, espresso-like |
Experiencing the Stovetop Coffee Maker (Moka Pot)
If you’ve ever wanted espresso-like intensity without the machine price tag, meet the Moka pot. This stovetop brewer, dating to 1933, uses steam pressure to push hot water through coffee grounds. The result is a strong, rich drink that’s perfect for a quick morning lift.
Getting the Most from Your Moka Pot
I always fill the water reservoir just to the safety valve. Then I add a fine grind of beans, leveling it off without packing too tight. A gentle tap settles the grounds evenly.
Medium heat works best—let the pressure build slowly for full extraction. You’ll hear a distinctive gurgle when it’s nearly done. This stovetop brewing method rewards patience.
Avoiding Common Pitfalls
Remove the pot from heat as soon as you hear bubbling. This prevents a burnt, bitter taste. Waiting just a bit too long can over-extract the grounds.
Also, clean every crevice after each use. Neglect can lead to moldy residue that ruins future brews. Disassemble the pot completely for a thorough wash.
While called a “poor man’s espresso machine,” this method delivers a robust experience. It’s become my go-to for a potent, satisfying cup that rivals more expensive approaches.
Drip Coffee Makers: Convenience Meets Quality
There’s a quiet hero in many American kitchens—the humble drip coffee maker. This method is the ultimate convenience for large batches. You don’t need to hover over it.
I’ve found that great results are still possible. It starts with your ingredients. I always use high-quality, fresh beans and a pre-rinsed paper filter.
This simple step ensures a clean, bright taste from your electric machine.
Optimizing Your Brewing Settings
Many modern machines have a pre-infusion setting. It mimics the manual bloom phase for better extraction. Pay close attention to your grounds-to-water ratio, too.
My best tip? Write down your preferred settings once you dial them in.
| Variable | Ideal Setting | Why It Matters |
|---|---|---|
| Grind Size | Medium | Ensures even water flow through the grounds; prevents clogging or weak brew. |
| Water Temperature | 195°F – 205°F | Hot enough for full extraction without scalding the beans. |
| Filter Type | Bleached Paper | Removes oils and sediment for a cleaner cup; pre-rinse eliminates paper taste. |
| Descaling Frequency | Every 3-6 months | Prevents mineral buildup that harms machine performance and flavor. |
Regular maintenance is non-negotiable. You must descale your machine to remove mineral deposits. This directly impacts the final cup.
Even with an automatic brewer, you can achieve a refined result. It just takes a little focused attention at setup.
Diving Into Espresso: Precision and Passion
I approached espresso with equal parts excitement and dread—knowing its reputation for precision. This method is a world apart from my other routines. It demands a specific, almost scientific, mindset.
Understanding Pressure and Temperature
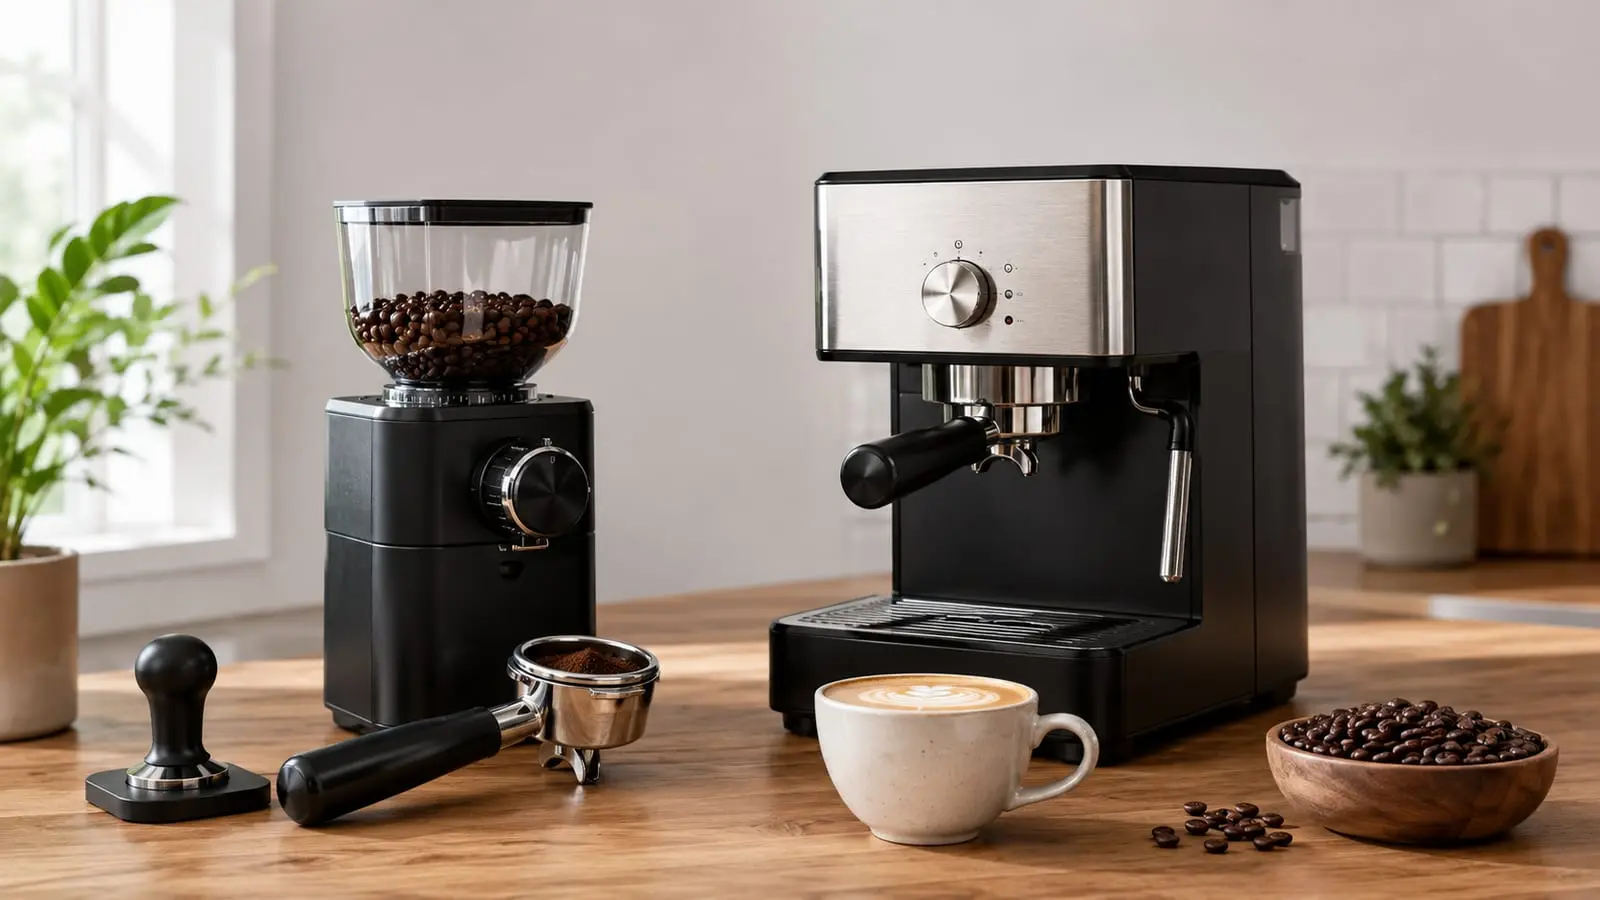
True espresso requires nine bars of pressure. This force pushes hot water through a tightly packed puck of finely ground beans. The grind must be ultra-fine and perfectly consistent.
I learned this the hard way. My first shots were either sour or bitter. Dialing in the perfect balance took many attempts.
| Variable | Ideal Target | Why It Matters |
|---|---|---|
| Pressure | 9 Bars | Forces extraction; creates the signature crema. |
| Water Temperature | 200°F | Ensures proper extraction without scalding. |
| Grind Size | Extra Fine | Creates resistance for the pressure to work against. |
| Dose (Double Shot) | 18g in, 36g out | Standard ratio for a concentrated, balanced result. |
Why Espresso May Not Be for Everyone
This is the most expensive and demanding way to make a cup. You often need a dedicated grinder just for the fine particle size. The learning curve is incredibly steep.
Many find the machine maintenance and fragility better suited for a cafe. You should only dive in if you want a new, all-consuming hobby. For a gentler start, check out this guide on how to use an espresso machine for.
Trying Out Alternative Brewing Methods
My kitchen experiments took a fascinating turn the day I tried a method without any heat at all. Beyond the familiar steam and quick routines, I found two approaches that operate on entirely different principles. One is patient and cool. The other is a captivating spectacle of science.
Cold Brew and Siphon Techniques
Cold extraction is incredibly simple. You combine coarse grounds with cool water and let it steep for 8 to 24 hours. The result is a remarkably smooth, low-acidity drink.
I make a large batch and keep it in my fridge. It’s perfect for a refreshing glass on a hot afternoon. The siphon brewer, or vacuum pot, is the opposite.
It uses heat-generated pressure to move water between two glass chambers. Watching it work feels like a chemistry experiment. This process yields an exceptionally clean and flavorful cup.
Mastering the siphon requires a bit more skill and attention. But both methods prove there’s always a new way to experience your favorite beans. The craft never stops surprising me.
Wrapping Up Your Coffee Journey at Home
Looking back on my own path, the most rewarding part wasn’t mastering a single tool—it was discovering how each one changed the story in my mug. I hope this guide helps you feel that same confidence in your own kitchen.
Remember, the best cup is always the one you love most. Trust your palate. The real magic starts with quality beans and a willingness to tweak your grinder or water heat.
Don’t be afraid to experiment. Whether you lean towards the rich body of a French press or the clean clarity of a pour over, the journey itself is the fun part. Thank you for exploring this craft with me—here’s to many more delicious discoveries ahead.
FAQ
What’s the single most important piece of gear I need to start?
How long should I steep my French Press?
Can I use the same grind size for every brewing method?
Is an AeroPress just for making espresso?
What’s the biggest mistake people make with a Moka Pot?
My drip machine coffee tastes bland. How can I fix it?
Is espresso a realistic goal for a beginner?
How do I clean my French Press to keep flavors fresh?
Related: Mastering French Press: The Best Grind Size
Related: How to Make Cafe Bustelo Coffee: Brewing a Perfect Cup
Related: Slow Brew Coffee: Unlock the Secrets to a Perfect Cup
Related: Speed Control in Pour Over Brewing: A Guide
Related: Common Coffee Brewing Mistakes and How to Fix
Related: Smoked Coffee: A Guide to Infusing Your Brew at Home