Coffee equipment should be cleaned as soon as you finish using it, with removable parts washed before coffee oils sit overnight. If you’re deciding how often coffee equipment should be cleaned, follow what touched the machine: coffee and milk need quick cleaning, while mineral scale needs periodic treatment. Descale when the machine prompts you, the manual calls for it, or water flow starts slowing. Consistent basic cleaning beats an elaborate routine you won’t keep.
What should you clean right after brewing?
Remove the grounds and used paper filter once they’re cool enough to handle. Leaving a wet coffee bed in the basket traps odors and stains. It also gives yesterday’s bitter oils a free ride into tomorrow’s pot.
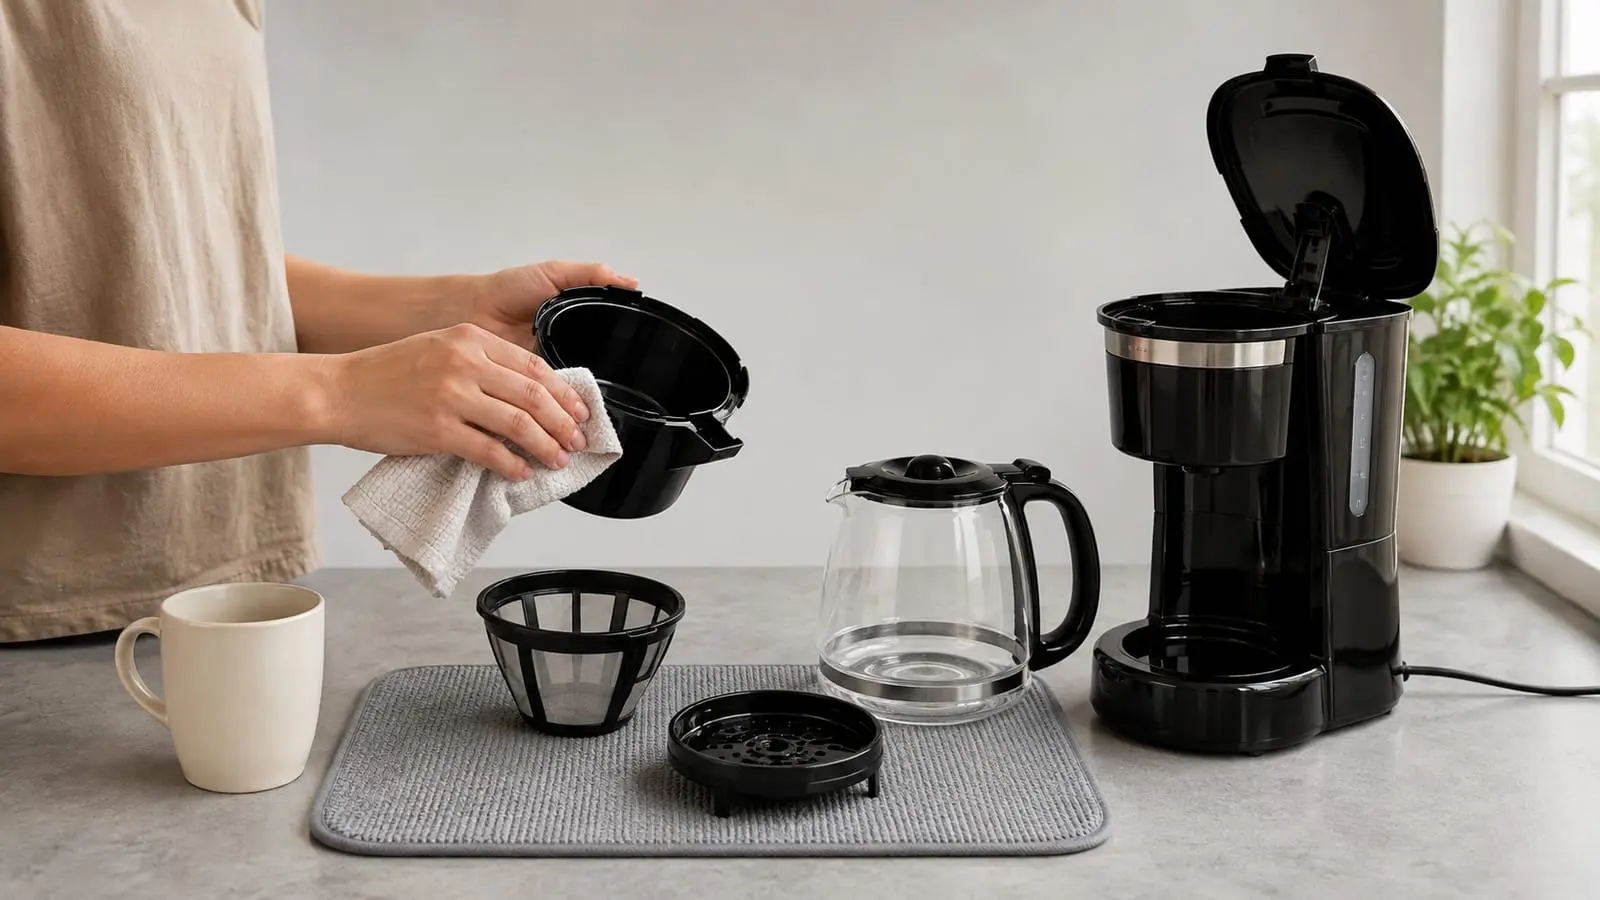
Empty leftover coffee instead of letting it cook on the warming plate. Then rinse the basket and carafe, and wipe any splashes from the plate and exterior. Pay attention to seams and the underside of the basket, where sticky residue tends to hide.
For a French press, knock out the grounds and rinse the mesh filter. Pour-over brewers need the same simple treatment. If you use a reusable coffee filter, rinse between the mesh folds rather than waving it under the tap and calling it clean.
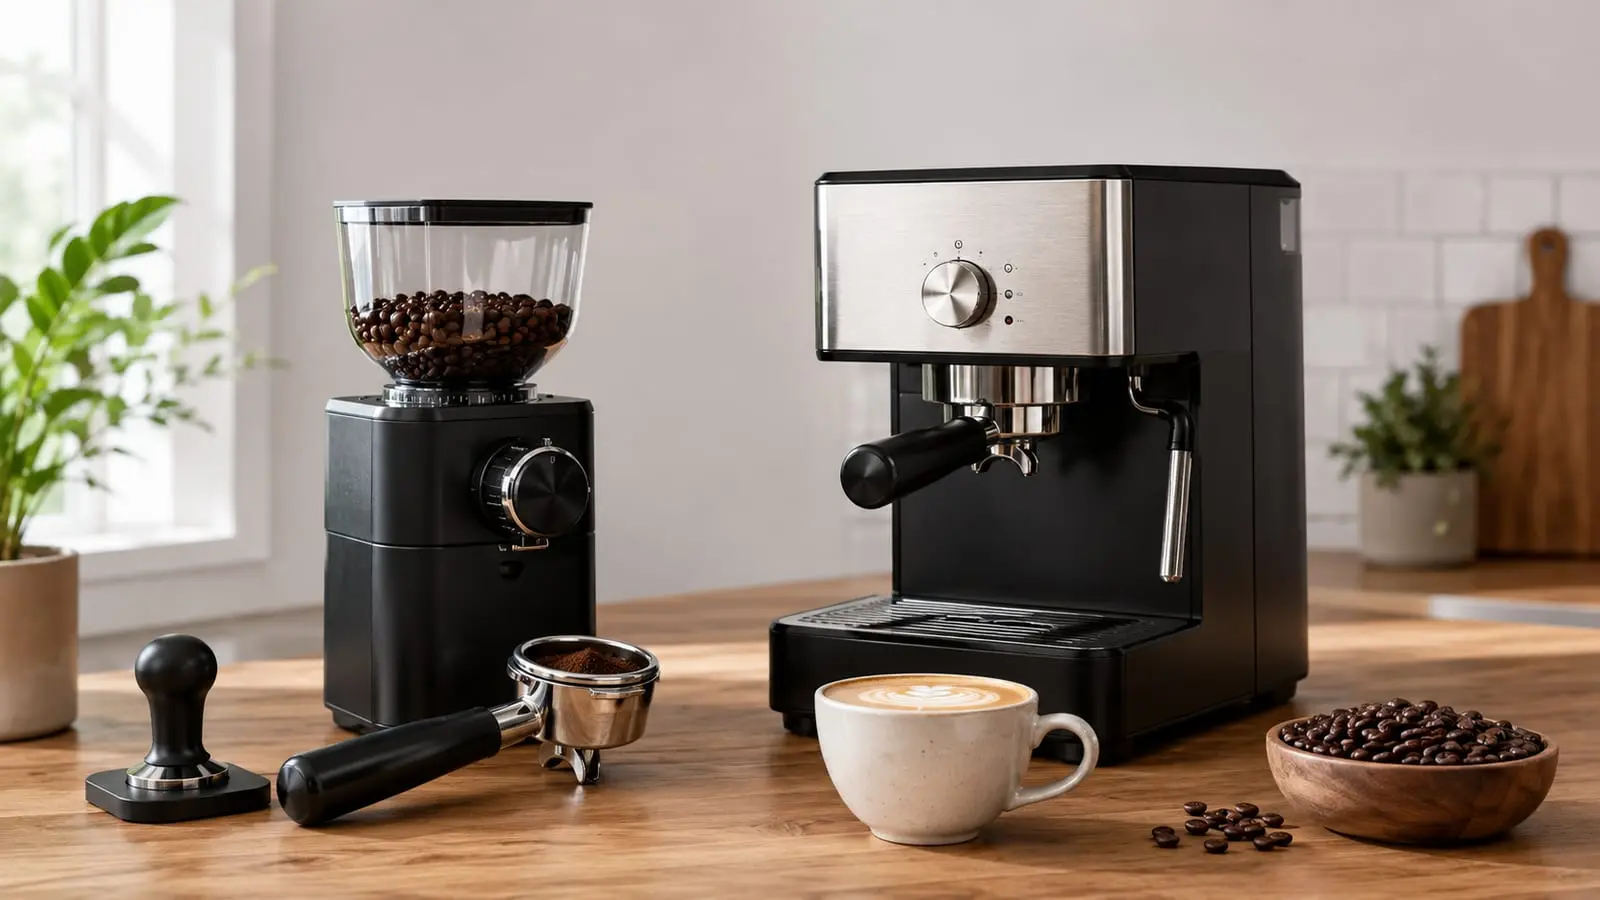
Espresso machines need extra care because coffee packs tightly around the group head. Knock out the puck, rinse the portafilter, and run a brief water flush if the machine’s instructions allow it. Milk residue is less forgiving, so wipe and purge the steam wand as soon as you finish steaming.
Nightly washing stops stale coffee oils
Wash detachable parts after the day’s last use. That includes filter baskets, carafes, lids, drip trays, reusable filters, and any piece that touched milk. Warm water and mild dish soap are usually enough.
Coffee oils turn sticky and rancid when they sit. A quick rinse may remove loose grounds, but it won’t always cut the oily film. If a clean finger dragged across the part feels slick, wash it again and rinse well.
Carafe lids deserve more attention than they get. Coffee collects around valves, hinges, and silicone seals, then sours out of sight. Take the lid apart only if the manual says it’s designed to come apart.
Milk-contact parts should never wait. Rinse them promptly, then wash them as directed by the manufacturer. Dried milk can block small passages and leave a sour smell that plain water won’t fix.
The water reservoir needs room to dry
Empty unused water regularly rather than keeping the reservoir topped up. Standing water picks up stale odors, while a damp closed tank gives mold and slime an easier place to settle. Fresh water also gives you a cleaner, brighter cup.
If the reservoir detaches, wash it with mild soap and a soft sponge. Rinse until there’s no slippery feel or soap smell. Abrasive pads can scratch clear plastic, which makes residue harder to spot and easier to trap.
Leave the reservoir open or detached until it air-dries. Closing a wet lid looks tidy, but it locks moisture inside. That’s housekeeping theater, not cleaning.
Fixed reservoirs are trickier. Wipe every reachable surface with a clean cloth, then follow the machine’s manual for flushing. Don’t pour random cleaners into internal tubing because a social post called it a shortcut.
Descaling follows the water, not a neat calendar

A fixed monthly descaling rule sounds useful, but it ignores your water and your machine. Descale when the manufacturer’s schedule or warning light calls for it. Also act when brewing slows, sputtering increases, or you see chalky residue.
Hard water contains more dissolved calcium and magnesium. Those minerals can settle inside heated equipment as scale. The U.S. Geological Survey guide to water hardness explains why hardness varies by water source and location.
If your water is hard, the machine will usually need descaling sooner. Filtered water may slow buildup, but a basic carbon filter doesn’t always remove hardness minerals. Don’t assume “filtered” means “scale-free.”
Use the manufacturer’s descaler when the manual requires it. Vinegar is cheap, but some machines discourage it because the smell lingers or the acid may affect seals and metal parts. Use vinegar only when the instructions permit it.
A safe descaling process
- Remove coffee grounds, filters, and any water filter the manual tells you to take out.
- Add the approved descaling solution, mixed exactly as directed.
- Run the machine’s descaling cycle or the brew sequence listed in its manual.
- Empty and rinse the reservoir and carafe.
- Run clean-water rinse cycles until no cleaner smell or taste remains.
- Wash any removable parts that collected loosened scale.
Don’t improvise a stronger mix to finish faster. Stronger acid can damage parts, and leftover cleaner tastes far worse than a little scale.
Mineral scale changes more than brew speed
Scale narrows water channels and coats heating surfaces. As a result, the machine may move water more slowly or heat it less evenly. The brew can run weak in one spot and harsh in another.
That uneven flow changes extraction, which means how much flavor the water pulls from the grounds. Too little extraction tastes thin or sour. Too much can taste dry and bitter.
Scale can also cause louder pumping, sputtering, or smaller servings. However, descaling won’t fix stale beans, a bad ratio, or coffee ground at the wrong size. If the machine is clean but the cup still tastes wrong, work through these common coffee brewing mistakes before blaming the brewer.
Cleaning removes coffee oils and food residue. Descaling dissolves mineral deposits. You need both because one process can’t do the other’s job.
Can coffee equipment go in the dishwasher?
Only removable parts marked dishwasher-safe belong in the dishwasher. Check the machine’s manual first, then use the rack position it recommends. Heat can warp plastic, cloud a carafe, or loosen a seal that looked sturdy enough.
Electrical bases, grinders, heating plates, and attached cords stay out. So do burrs, delicate screens, rubber seals, and painted parts unless the instructions clearly approve machine washing. Hand-washing takes longer, but replacing a warped basket takes longer still.
Thermal carafes often need gentle hand-washing because dishwasher heat can damage finishes or seals. Narrow interiors may need a soft bottle brush. Skip steel wool, which scratches surfaces and gives old coffee more places to cling.
Small espresso parts are easy to lose or damage in a dishwasher. Portafilter baskets and drip trays may be approved, but don’t guess. The beginner’s guide to using an espresso machine covers the parts you’ll handle most often.
Deep cleaning starts with the warning signs
A rancid smell, brown oily film, visible mold, clogged flow, or a stubborn off-flavor means routine rinsing has fallen behind. Take apart every removable piece the manual allows. Then wash, rinse, inspect, and air-dry each part before reassembly.
Use a coffee-equipment cleaner for baked-on coffee oils when the manufacturer allows it. Descaler won’t remove those oils. Likewise, dish soap won’t clear mineral deposits deep inside a heating system.
Visible mold needs more than a rinse. Clean every accessible surface and replace removable filters or seals that stay stained or smell musty. If growth remains inside tubing you can’t reach, contact the manufacturer about service or replacement.
Persistent flow trouble after descaling may signal a blocked valve, failing pump, or damaged heater. More acid won’t repair a worn part. Stop repeating the cleaning cycle and get the machine checked.
How often should coffee equipment be cleaned?
Use a task-based schedule instead of forcing every machine onto the same calendar. The right timing depends on what touched coffee, milk, or mineral-heavy water.
| Trigger | What to clean |
|---|---|
| As soon as brewing is finished | Remove grounds and used filters, empty leftover coffee, rinse the basket and carafe, and wipe splashes |
| After the day’s last use | Wash removable baskets, lids, carafes, drip trays, and reusable filters |
| Immediately after milk use | Wipe and purge steam wands, then wash detachable milk parts |
| When the reservoir is emptied | Rinse away residue and leave the tank open to air-dry |
| When the manual, warning light, or flow indicates | Descale with an approved product or a permitted vinegar process |
| When odors, film, mold, or bad flavors remain | Take apart removable pieces and perform a deeper cleaning |
This schedule is for anyone brewing at home, from a basic drip maker to a busy espresso setup. Heavy use means the triggers arrive sooner. Occasional use still needs care because damp parts can turn stale while the machine sits.
The trade-off is small but real. Cleaning takes effort, while aggressive scrubbing, harsh chemicals, and needless descaling can damage equipment. Use the mildest method that removes the actual problem, then taste and adjust your coffee.
Fresh-ground beans, a sound ratio, and clean water still matter. However, none of them can outrun a rancid basket or sour milk tube. Clean the parts that get dirty, not every screw you can reach.
FAQ
Should you wash a coffee grinder with water?

No, unless the grinder’s instructions specifically allow it. Unplug the grinder, remove loose grounds with a dry brush, and wipe the hopper with a barely damp cloth if needed. Let every removable piece dry fully before putting it back.
Never pour water into the burr chamber. Also skip grinding rice as a cleaning trick, since hard grains can strain the motor or damage burrs. Use grinder-cleaning tablets only if the manufacturer approves them.
Can you use bleach in a coffee maker?
Don’t put bleach into a coffee maker unless the manufacturer gives explicit instructions for doing so. It can damage parts, leave a stubborn odor, and create a serious rinsing problem inside hidden tubing.
For mold or heavy residue, use the cleaner named in the manual. If contamination remains in unreachable areas, servicing or replacing the machine is the safer call.
Why does coffee taste like soap after cleaning?
Soap taste usually means the carafe, basket, lid, or reservoir wasn’t rinsed well enough. Rinse each piece again with clean water, paying attention to seams and valves. Then run plain water through the brewer if the manual permits it.
Using extra soap doesn’t make parts extra clean. It just gives you more detergent to remove.
Should you clean a new coffee maker before using it?
Yes. Wash removable parts and run the setup or rinse process listed in the manual. New equipment can carry packaging dust, factory odors, or loose residue you don’t want in the first pot.
Let the parts dry, reassemble the brewer, and discard the rinse water. Then brew with fresh coffee and dial in the ratio from there.