Latte art without an espresso machine is possible, but the milk matters more than the coffee maker. If you want to learn how to make latte art at home, brew a small, concentrated coffee, froth warm milk into glossy microfoam, and pour from a low spout. Skip stiff foam. It makes a fine cappuccino cap and terrible art.
What makes latte art work without espresso?
Latte art needs dark coffee, fluid foam, and a cup that gives the milk room to spread. An espresso machine handles the first two jobs neatly, but it doesn’t own them.
Microfoam is milk filled with bubbles too small to see clearly. Good microfoam looks glossy and moves like wet paint. If you can scoop it like whipped cream, it’s too dry.
Espresso crema gives the pattern stronger contrast. However, you can still pour a clear heart over concentrated coffee from a moka pot, AeroPress, or instant espresso powder. The design may look softer, but the pouring method stays the same.
You’ll need:
- A small amount of dark, concentrated coffee
- Cold dairy milk or barista-style oat milk
- A French press, handheld frother, or stovetop steamer
- A small pitcher or spouted measuring cup with a controlled pour
- A wide cup with a rounded bottom so the milk can spread
The pitcher matters more than people admit. A narrow spout gives you better control than a mug or glass jug. Still, use what you have before buying another piece of coffee gear.
How to make latte art at home without an espresso machine?
The basic method is simple: brew strong coffee, make wet microfoam, and pour before the milk separates. Don’t chase a rosetta on your first try. A clean heart teaches the same control with less wasted milk.
Brew a concentrated coffee base.
Use a moka pot, a short AeroPress brew, or instant espresso powder mixed strong. Pour it into a wide, rounded cup and give it a stir so the surface is even.Warm the milk gently.
Heat it until it’s steaming and sweet-smelling, then stop before it simmers. Scalded milk loses sweetness and becomes harder to foam smoothly.Add a little air.
Froth near the surface until the milk expands slightly. You want tiny bubbles and a low, glossy layer of foam.Mix the foam through the milk.
Move the frother deeper, or plunge more gently if you’re using a French press. This breaks up larger bubbles and spreads the foam through the pitcher.Polish the texture.
Tap the pitcher on the counter to pop visible bubbles. Then swirl until the milk turns glossy and flows as one liquid.Build the latte base.
Tilt the cup and start with a thin stream from above the surface. This carries milk under the coffee instead of leaving a white patch on top.Draw the pattern.
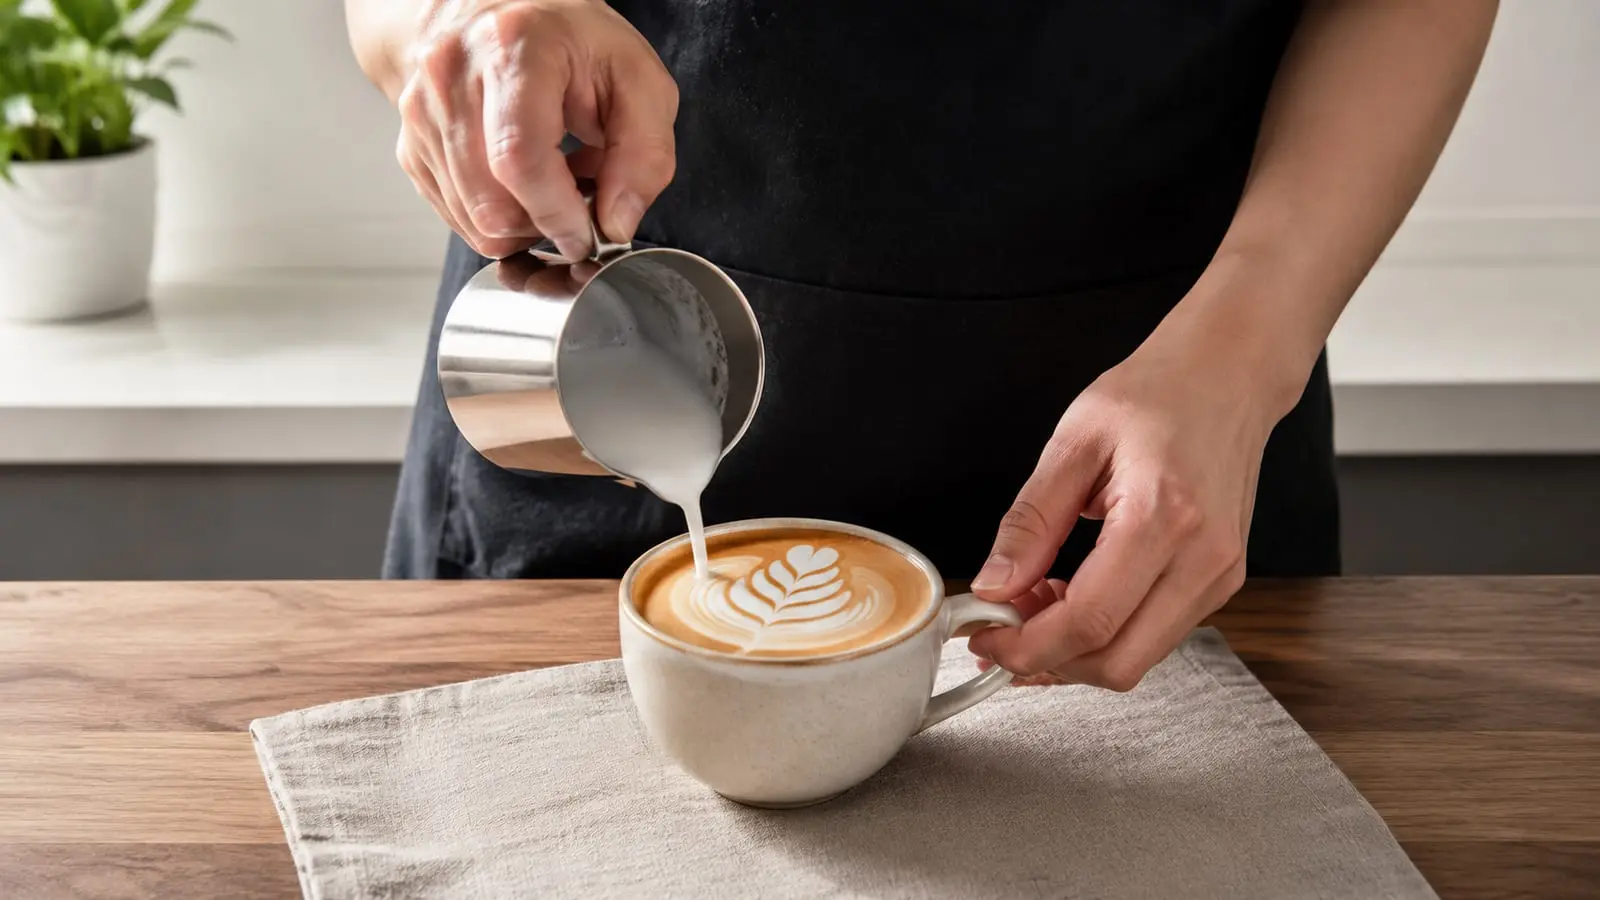
Lower the spout close to the surface once the cup begins to fill. Pour into the center, let the white foam spread, then lift slightly and draw the stream through it.
Pour as soon as the milk is ready. Let it sit, and the foam floats upward while the thinner milk sinks. That split texture is why a pitcher can look good and still pour badly.
The coffee base needs body
Regular drip coffee is usually too thin and pale for sharp latte art. You can pour over it, but the white pattern tends to disappear into a beige surface.
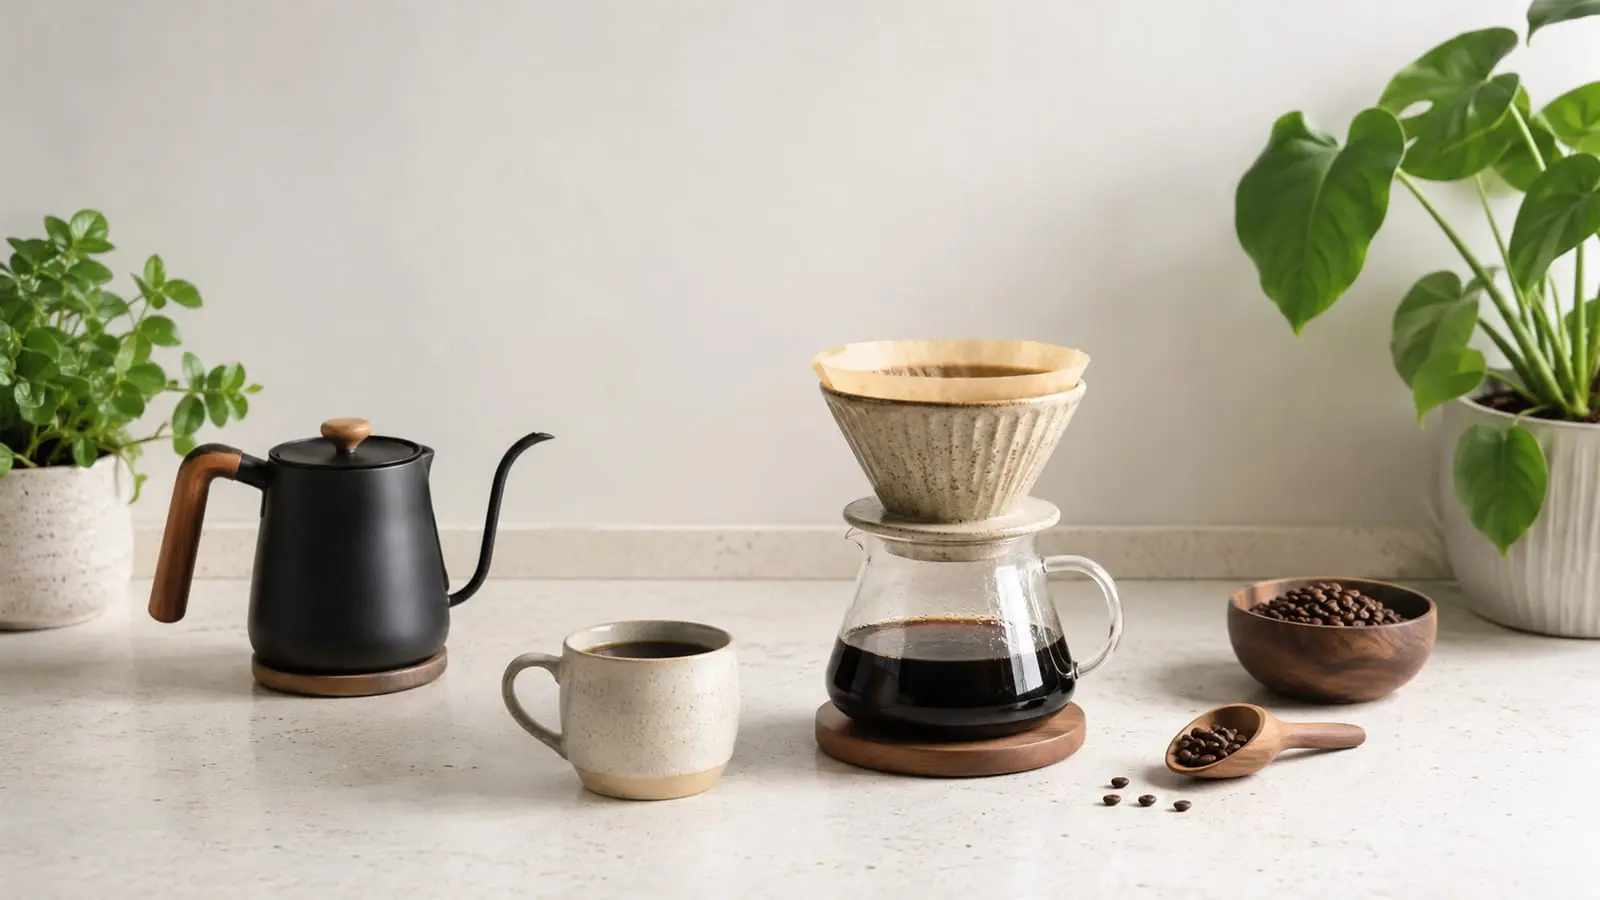
A moka pot is the strongest machine-free choice. It gives you a dark, punchy base with enough body to hold contrast. Keep the heat controlled, because scorched moka coffee will bully every other flavor in the cup.
An AeroPress also works if you use a concentrated brew. Follow the official AeroPress brewing instructions, then shorten the drink with less water than you’d use for a regular cup.
Instant espresso powder is the practical fallback. Mix it smooth and strong, using only enough hot water to dissolve it. It won’t have crema, but it gives you a dark canvas without extra equipment.
French press and pour-over coffee sit at the bottom of the list for art. Both can taste excellent, but clarity works against you here. If that’s all you have, use a darker roast and keep the coffee concentrated. Grinding finer will only pull out more bitterness.
Frothing tools ranked by control

Big foam is the wrong target. Latte art needs milk that stays fluid and glossy, so the best tool is the one you can stop before the pitcher fills with stiff bubbles.
| Frothing method | Milk texture | Control | Honest verdict |
|---|---|---|---|
| French press | Smooth and well mixed | Good | Best low-cost choice for learning |
| Handheld frother | Silky with some practice | Good | Fast, cheap, and easy to overdo |
| Stovetop milk steamer | Closest to steam-wand foam | Excellent | Effective, but more gear than most people need |
| Jar with a lid | Airy with larger bubbles | Limited | Fine for foam, frustrating for free-pour art |
| Kitchen whisk | Loose and uneven | Poor | Use it for the drink, not the drawing |
The French press gives you the best cheap foam
Warm the milk, pour it into the press, and work the plunger briskly near the surface. Once the milk has taken in air, slow down and use longer strokes to mix the foam through.
Don’t keep pumping until the milk doubles into a stiff cloud. That’s the usual mistake. Stop while it still pours freely, then swirl and tap the press before transferring the milk to a spouted pitcher.
A handheld frother needs a light touch
Hold the whisk just under the surface at first. Once the milk expands, sink it deeper and create a small whirlpool.
If you hear loud splashing, the whisk is pulling in too much air. Move it deeper. Large bubbles won’t become microfoam just because you keep running the motor.
Stovetop steamers work, but they’re specialized
A stovetop milk steamer gives you proper steam pressure without a full espresso machine. As a result, it can make silky foam close to café texture.
However, it takes counter space, cleaning, and practice. Buy one if milk drinks are a daily habit. Otherwise, a French press gets close enough without turning breakfast into equipment maintenance.
The jar method has a low ceiling
A jar can froth milk, but it tends to make thick foam above thin liquid. That separation fights the smooth flow needed for hearts and rosettas.
If a jar is all you have, use warm rather than piping-hot milk and leave room for it to expand. Seal it, shake hard, then open it carefully and swirl. You’ll get better results with etched designs than free-poured ones.
Milk choice changes the pour
Whole dairy milk is the easiest starting point. Its fat gives the drink a silky body, while its proteins help hold small air bubbles. The underlying milk chemistry is covered in the University of Guelph’s Dairy Science and Technology eBook.
Skim milk takes in plenty of air, but the foam becomes dry fast. It can give you a bold white cap, though it’s less pleasant to pour and drink.
Barista-style oat milk is the safest plant-based choice. It’s made to stay stable in hot coffee and usually produces finer foam than standard oat milk. Shake the carton first, because the ingredients settle.
Soy milk can pour well, but high heat and acidic coffee may make it split. Almond milk is less forgiving and often produces larger bubbles. Fresh milk helps across the board, so don’t practice with a carton that has been open and fading in the fridge.
Hearts, tulips, and rosettas need different control

Learn the heart before you touch the rosetta. The heart teaches stream height, flow, and the final cut through. Without those, a rosetta becomes a pale squiggle wearing a fancy name.
Start with a heart
Pour from above to mix milk beneath the coffee. Then bring the spout close to the surface and pour steadily into the center.
A white circle should begin to spread. Once it’s wide enough, raise the pitcher slightly and draw a thin stream through the middle. That pull turns the circle into a heart.
If you get a white blob, you skipped the final cut. If nothing white appears, your spout stayed too high or your foam was too thin.
Stack a simple tulip
A tulip uses several small pushes instead of one large circle. Pour a small white shape, pause, then push another shape into it from behind.
Finish by lifting the pitcher and cutting through the stack. Keep the pushes calm and centered. Throwing milk at the cup won’t create petals.
Save the rosetta for later
For a rosetta, bring the spout close and gently move the pitcher from side to side. Meanwhile, pull the pitcher backward so the ripples spread across the cup.
Finish with a thin cut through the center. The motion is smaller than most beginners expect. Big wrist swings make broad waves with no clean leaves.
Etching is easier than free-pouring
Etching means drawing through foam with a skewer or toothpick after the pour. It’s a fair option at home, especially if your frother makes thick foam instead of fluid microfoam.
Pour a plain white circle first. Then add small marks with coffee or chocolate sauce and drag a clean skewer through them. You can make hearts, flowers, and simple leaves without mastering pitcher control.
Still, don’t confuse etching with free-pour practice. Etching teaches surface drawing. Free-pouring teaches milk flow. Use etching when you want a decorated drink now, then keep practicing hearts separately.
Common failures have simple fixes
Most failed latte art comes from milk texture, not artistic talent. Fix the foam before blaming your hands.
| Problem | Likely cause | Fix |
|---|---|---|
| The foam lands in chunks | Milk is too dry | Froth less and swirl harder |
| The pattern sinks | Spout is too high | Lower it close to the surface |
| The cup turns pale immediately | Coffee is too weak | Brew a smaller, stronger base |
| Large bubbles cover the design | Too much air entered | Keep the frother deeper |
| Milk pours first and foam falls out last | The pitcher sat too long | Swirl and pour right away |
| Plant milk breaks apart | Milk is overheated or coffee is sharp | Use gentler heat and fresher milk |
| The heart has no point | The final stream was too heavy | Lift the pitcher and finish with a thin cut |
Adding more foam won’t fix a pattern that won’t appear. It usually makes the problem worse. Latte art foam should fold into the drink instead of sitting on top like bath bubbles.
Likewise, don’t stir the finished latte and try to pour a second design. The surface has already lost its structure. Drink that one and start fresh.
Practice without wasting a full drink
Learning how to make latte art is mostly learning when to move the pitcher. Practice the pour between empty pitchers with water first. You won’t learn foam texture, but you will learn to keep the stream steady.
Next, practice hearts until the basic motion feels steady. Keep the same cup, milk, and frothing tool. If you change the whole setup after each ugly pour, you won’t know what fixed it.
Take a quick photo before drinking the latte. Look for one specific fault: poor contrast, thick foam, an off-center pour, or a weak cut. Then change that part on the next attempt.
If you prefer distinct layers over surface art, use the milk-first latte macchiato method. It’s a different skill and much kinder to coarse home foam. For a sweeter practice drink, the birthday cake latte without a machine gives you room to work on texture while keeping the decoration in its proper place.
Meta description: Make latte art without an espresso machine using strong coffee, glossy microfoam, a simple frother, and a controlled pour.
FAQ
Can you make latte art with decaf coffee?
Yes. Decaf pours just as well as regular coffee if you brew it dark and concentrated. A pale, watery base will hide the design, and caffeine won’t save it.
Should flavored syrup go into the coffee or milk?
Stir syrup into the coffee before adding milk. That keeps the foam glossy and spreads the flavor evenly. Thick sauce can drag through a clean pattern, so save it for etching or add it after the pour.
Does the cup shape matter?
Yes. A wide cup with a rounded inside wall gives the milk room to roll through the coffee and spread across the surface. A tall, straight mug fights the pour, while cup color changes nothing.
Can cold foam make latte art?
Cold foam is too stiff for standard free-pour designs because it sits on top instead of flowing through the drink. You can shape or etch the surface, but that’s decoration rather than classic latte art.
Why does my second pour look worse than my first?
The milk has started to separate. Swirl the pitcher firmly before the next pour, but badly split foam won’t become silky again through optimism. Froth only what you plan to use right away.